So you had a thing and it broke? Well, depending on when and where you were born, you might be thinking one of two options: go buy another new thing or try to fix the old thing.
There is a trend in recent years that people are not trying to repair things. The justification for that is that oftentimes that repair is thought to end up costing a lot more than what it is to buy a new thing or if not more than close to the value of the thing itself.
I do not think that this is true. I believe that every single thing should be given a second chance. And this is especially important if by any means you are considering yourself to be a technical/maker person.
The sole act of opening a thing to inspect its internals and the principle of operation is so educational that I barely miss an opportunity to at least inspect the issue.
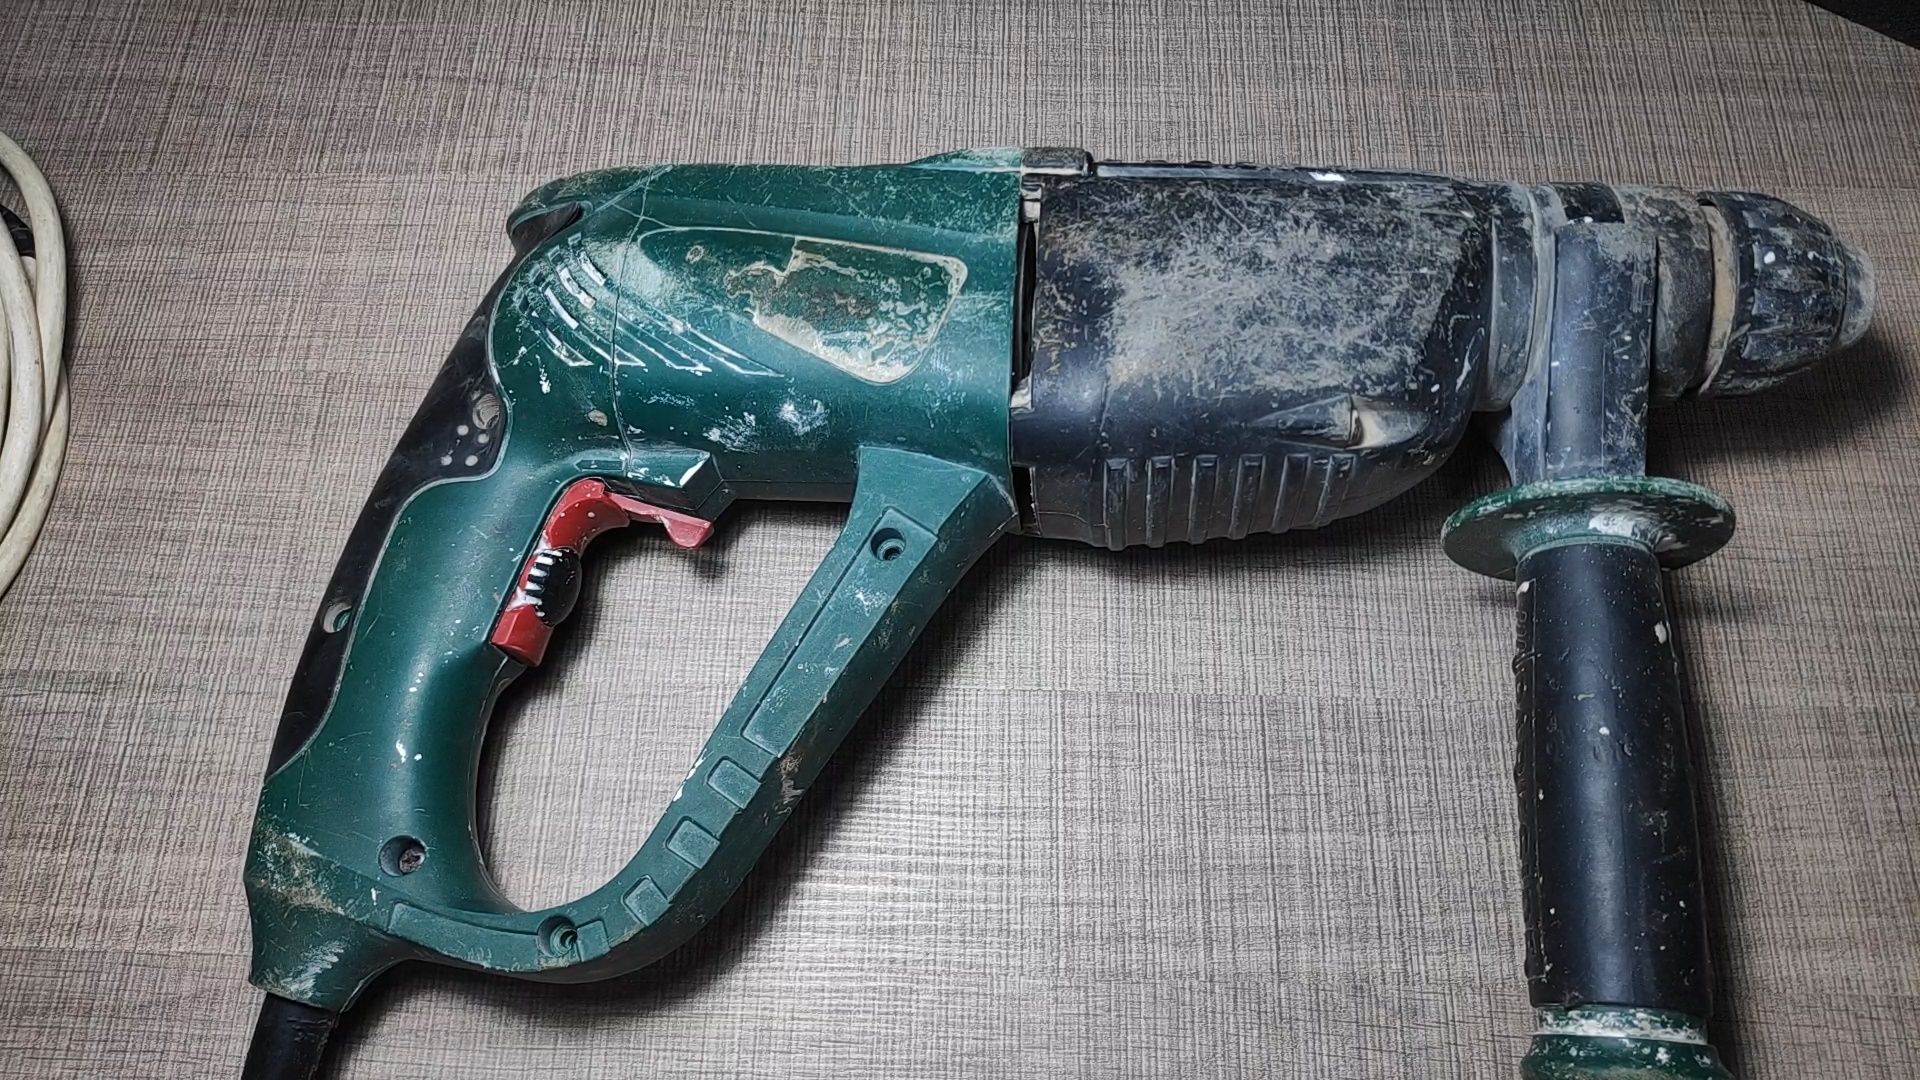
I had one such opportunity just last week when a friend of mine gave me his hammer drill to try and repair it. He had the drill running for a longer time and while operation, the switch stopped working so the drill was unable to stop.
When I opened it I read the markings on the switch (FA2-6/1BEK) and I ordered a new one. The tricky part was finding one that will match the look of the front cover as there are several others with the same number but with different styles of push cover.
After it arrived, I first verified that the wire placement and wiring of the switch are the same as on the original and then I started removing the wires one by one which proved not so easy. The wire is held in place by a pin that opposes the pulling force so you will need to either slid something very small next to the wire to hold that pin while you pull or you can open up the cover and use a screwdriver to push that lever.
I did a combination of both, but the real struggle came from the orientation switch on top. In the end, I had to demolish the old switch with pliers in order to get all the wires out.
The entire repair (except for the switch waiting time) was about one hour which for the gain of a working drill is acceptable and relatively easy. I highly recommend that you try one for yourself in case your drill stops working because of the switch but always keep in mind that you are dealing with mains voltage. Before opening it up, make sure that the tool is unplugged.
I also replaced the switch on a Ryobi drill once and there is a video of that as well.
For any questions, feel free to write down in the comments.


