I've met countless friends who ask me the same question: "How do I start learning electronics and Arduino?" After years of teaching beginners, I've found that the Elecrow all-in-one Arduino starter kit is one of the best answers. What makes this kit special is that everything comes pre-wired and mounted on a board. Trust me, this solves the biggest frustration for beginners - that pile of loose components and wires that many starter kits dump on you. I've seen too many people give up before they even write their first line of code because of wiring issues.
What's in the Box
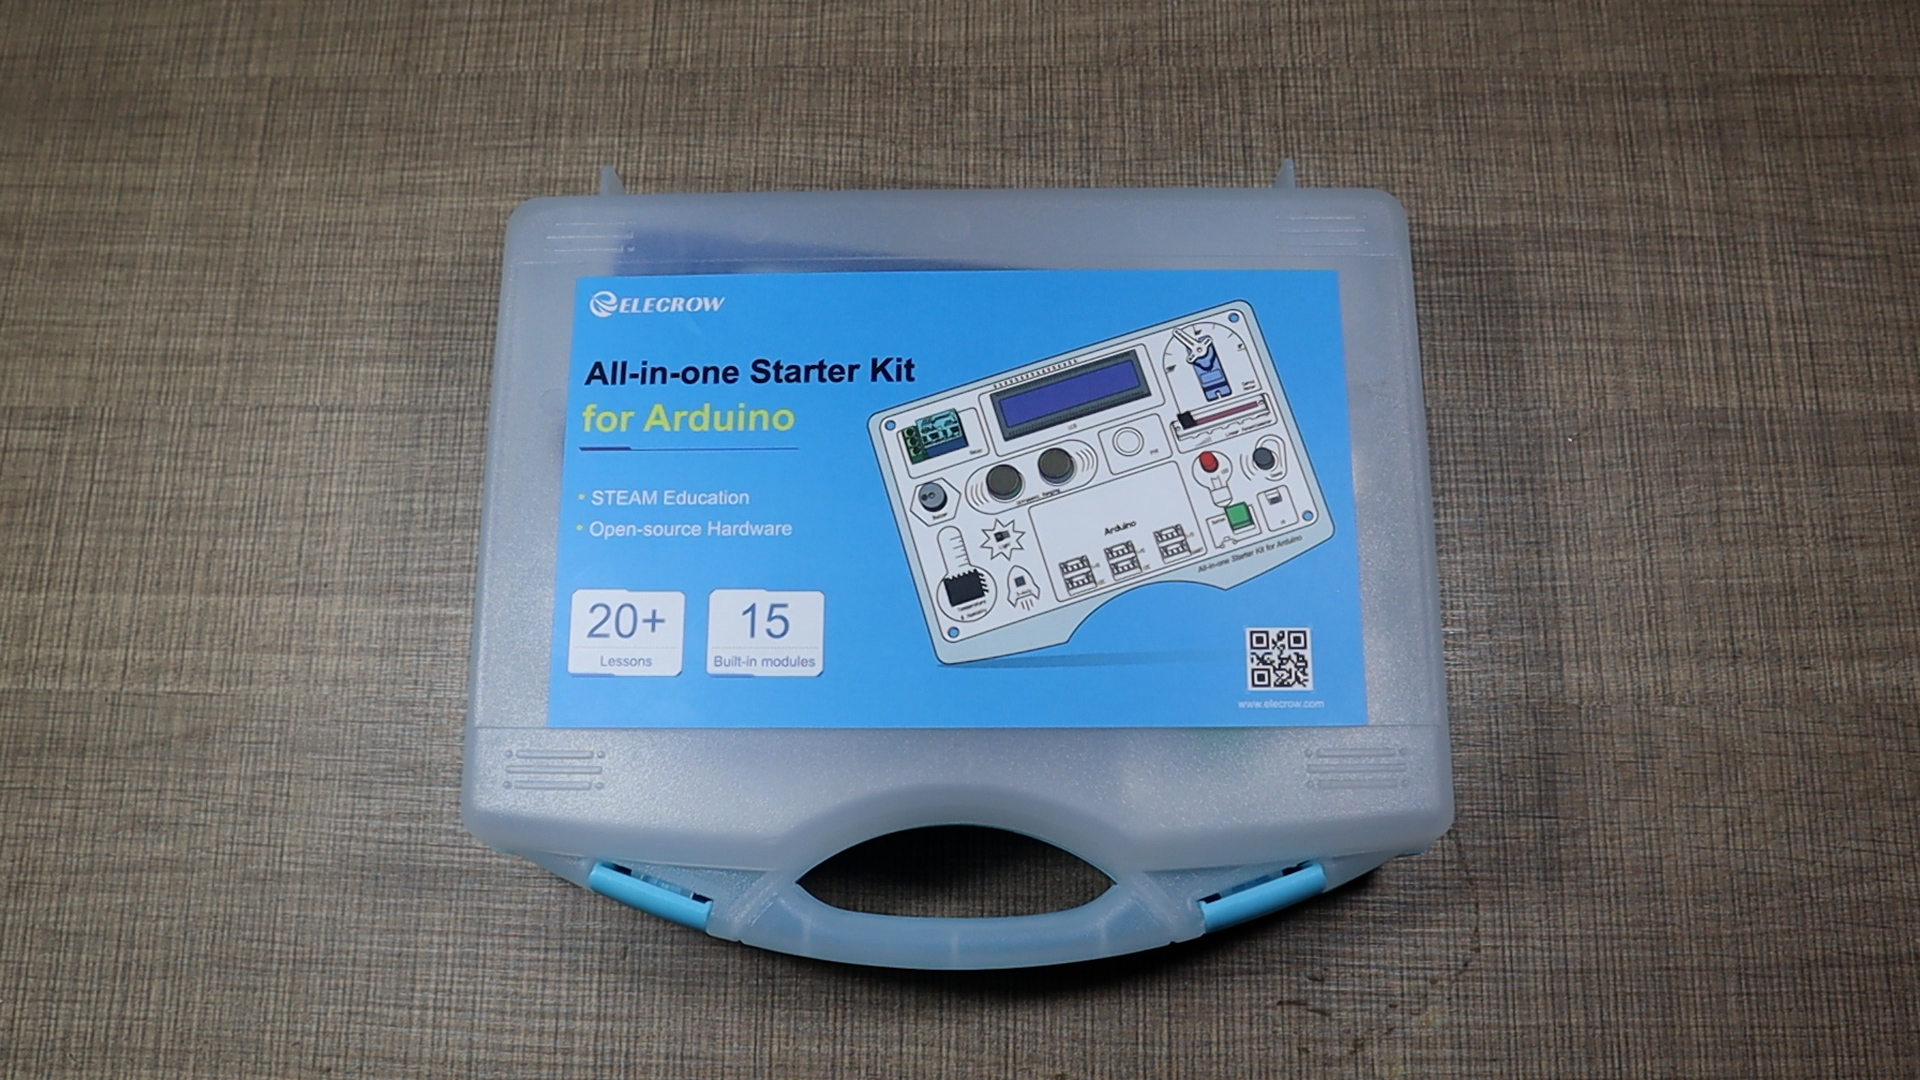
When I opened the briefcase-style container, I was impressed by how organized everything was. The kit includes 15 different sensors and modules already mounted on the board. You get practical components like an LED, button, buzzer, servo motor, temperature sensor, light sensor, and LCD screen. There's even an ultrasonic distance sensor, a microphone, and an infrared remote control. The brain of it all is an ATmega328P - the same chip used in the Arduino Uno. I especially appreciate the clearly labeled connections showing exactly which Arduino pins connect to each component.
Getting Started
I connected the kit to my computer using the included USB-C cable. Right away, I discovered the board comes pre-loaded with demo software that lets you test most of the sensors without writing a single line of code. I navigated through the demos using the push button, testing the light sensor that triggered the LED when it got dark, checking the temperature readings on the LCD, and watching the servo motor respond to the slider position. This feedback is perfect for beginners since you can see everything working before you start programming.
Writing Your First Code
I wanted to try programming the kit myself, so I opened the Arduino IDE on my computer. I selected "Arduino Uno" from the board manager and the correct COM port. Starting with the simplest project, I wrote a sketch to blink the LED. Just a few lines of code setting pin 10 as output, then turning it on and off with a delay between states. After uploading, the LED started blinking exactly as programmed. I then modified the code to make it blink faster by reducing the delay time.
Moving to Interactive Projects
Next, I tried making the LED respond to the button press. The kit's manual provides complete code examples for this, though I had to type it in rather than copy-paste since the examples are images. Luckily, I found a GitHub repository with all the example code (I'll share the link at the end). After uploading the code, the LED lit up every time I pressed the button. This simple interaction forms the foundation of countless electronics projects and teaches the basics of input and output.
Working with Sensors
I wanted to try something more advanced, so I loaded the accelerometer example. This required installing the liquid crystal library first, which I did through the Arduino IDE's library manager. Once uploaded, the LCD displayed the X, Y, and Z acceleration values that changed as I tilted and moved the board. It's fascinating to see real-time sensor data and understand how devices detect motion. The pre-wired nature of the kit means I could focus on understanding the code rather than troubleshooting connection issues.
Expanding Your Projects
One feature I love about this kit is that it doesn't limit you to just the included components. On the bottom of the board, there are expansion ports for connecting additional sensors. These use a standard crocodile connector format, compatible with over 150 additional sensors you can purchase separately. This means the kit grows with you as your skills develop.
Learning Resources
The kit comes with an online manual containing 21 detailed lessons that progressively build your skills. Each lesson shows the circuit schematic (though it's already wired for you), provides complete code, and explains how everything works line by line. This structured approach takes you from blinking an LED to working with complex sensors. The only minor issue I encountered was that some library installations weren't explained in the manual, but the Arduino IDE makes this relatively straightforward anyway.
Why This Kit Works for Beginners
After teaching Arduino to beginners for years, I've learned that the biggest obstacle isn't the programming. It's the frustration of wiring mistakes. By eliminating that problem, this kit lets you focus on learning to code. The pre-loaded demos provide immediate gratification, showing what's possible before you write a single line of code. Then the manual guides you step by step through increasingly complex projects. When you make a mistake (and trust me, we all do), you know it's in your code, not your wiring, which makes troubleshooting much simpler.
Final Thoughts
If you're just starting with Arduino or want to introduce someone else to electronics, this Elecrow All-in-one starter kit removes many of the common barriers to entry. I've found it ideal for beginners because it provides immediate success experiences while gradually introducing more complex concepts. The combination of pre-wired components, structured lessons, and expansion capabilities means this single kit can take you from complete novice to confident builder. And isn't that what a starter kit should do?
Links and Resources
Other Kits From Elecrow:


