I spend a lot of time working on projects in my basement because it's the perfect spot for bigger, messier jobs that need power tools. To make this space feel more like my own and get it ready for future videos, I decided it needed a personal touch. This will be the perfect opportunity that I also test out the TOOCAA L2 laser engraver and cutter that was kindly provided by TOOCAA for my workshop.
So, my first project with the laser will be a custom light-up sign for the wall that features my channel logo. The sign will be powered with SK6812 LEDs and it will be controlled with WLED for custom effects and color variations.
TOOCAA L2 Overview
Getting the TOOCAA L2 laser out of the box was a straightforward experience. The main laser bed came already put together, which was a nice surprise. I only had to assemble the aluminum enclosure around it, and that was simple because TOOCAA includes a very clear manual and all the necessary tools. It took me about half an hour to put the whole case together, and I felt confident doing it because every part was labeled, so I couldn't mix up the panels or screws.
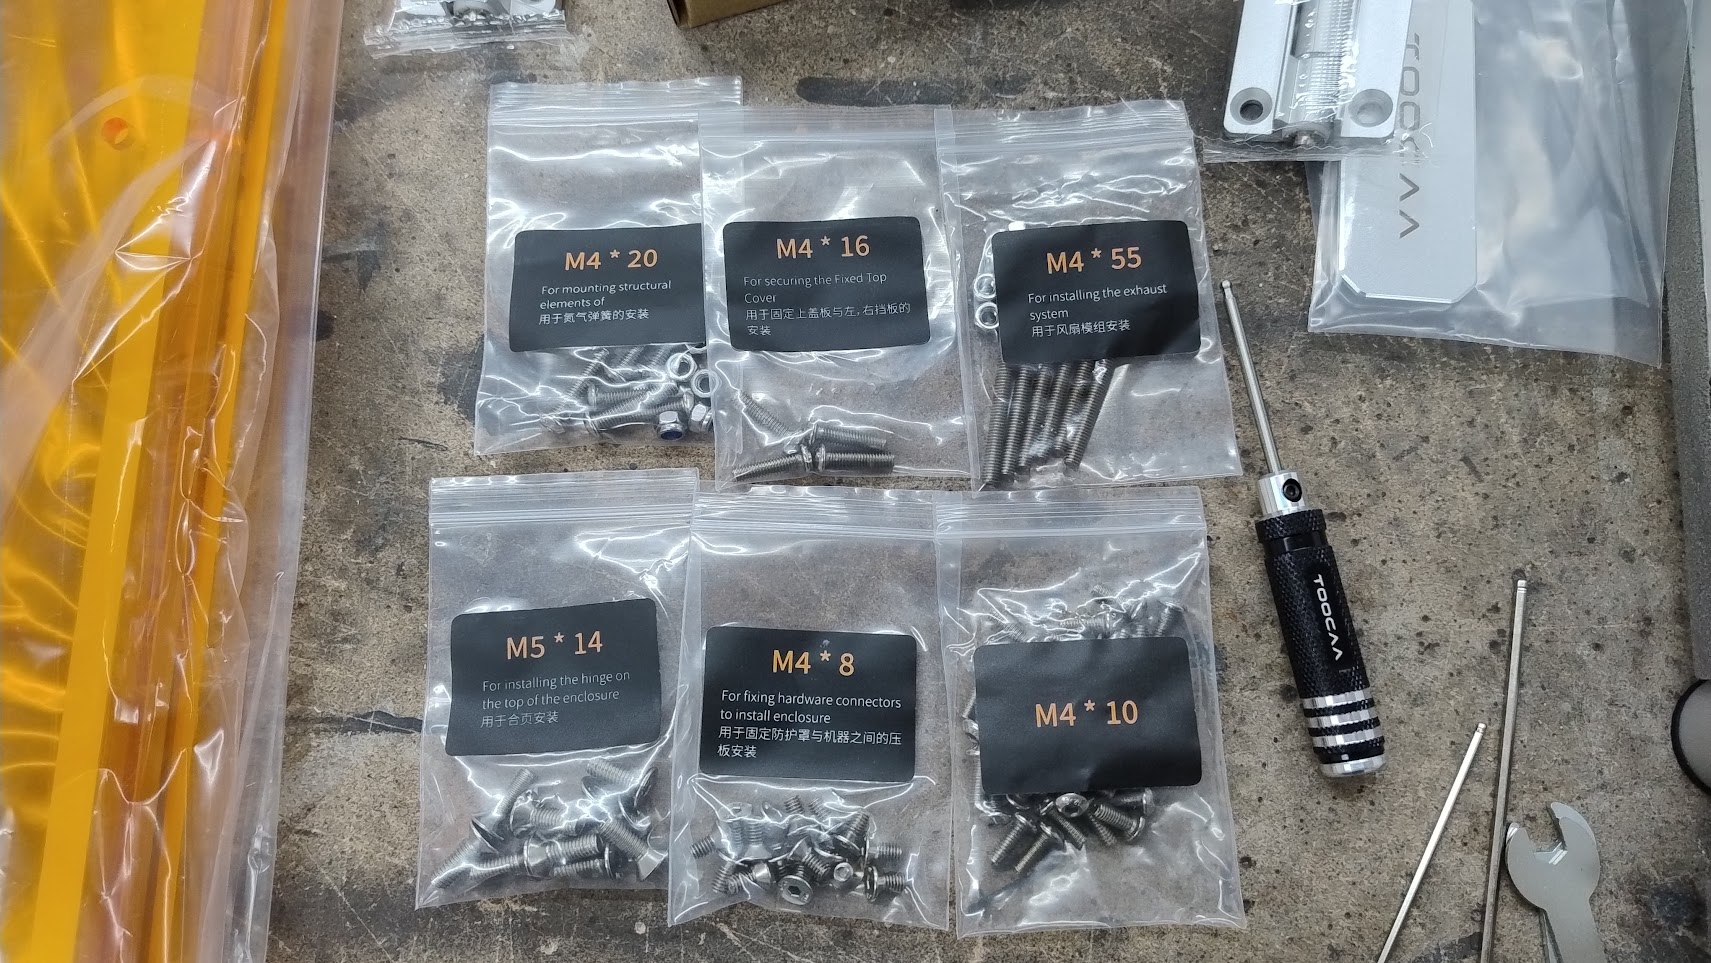
Everything was super organized and labeled.
I was really impressed by how many safety features are built directly into this machine. It has a magnetic switch that stops the laser if the lid is open, a tilt sensor that halts everything if the machine is bumped, and even a flame detection system. There's also a special USB port for a safety dongle that acts as a kill switch. On top of all that, a bright light runs around the inside edge, so I can always see my work clearly through the window without opening the lid.
In terms of performance, my model has a 20 watt laser module, which is powerful enough to cut and engrave a lot of different materials. It's also very precise, with an accuracy of 0.01 millimeters, and it can move at speeds up to 400 millimeters per second. The laser works with common software like LightBurn, but I started with TOOCAA's own web-based application, which connected to the machine right away and was easy to use for my first tests.
Testing the Laser
Before I could make my first cut, I had to set up safety first. I connected the built-in ventilation fan and ran the tube out of a window because lasers create a lot of smoke. The TOOCAA L2 is very strict about safety; it simply won't start unless the lid is securely closed and the safety USB dongle is plugged in. I loaded a scrap piece of cardboard onto the honeycomb bed, which helps with air flow, and connected my laptop to the laser using the TOOCAA Studio software.
My first test was a simple framing operation. This tells the laser head to travel around the outline of my design without actually engraving, so I can see if it's positioned correctly on the material. The first time I tried, the machine beeped and gave me an error light because I hadn't closed the lid all the way. After I closed it and reset the machine, it homed itself and then perfectly traced a 5-centimeter circle on my cardboard. I then set the laser to line mode and started the actual engraving.
I watched as the laser head moved quickly over the cardboard, leaving a clean, precise line. After it finished, I measured the circle and was happy to see it was exactly 5 centimeters in diameter, proving the machine's accuracy. I also tried a cutting test, and I learned a very important lesson: you must always set the laser's focus correctly using the two levers on the side. My first cut was messy, but after adjusting the focus, the second cut was clean and sharp, ready for me to move on to the real project material.
Dialing in the Settings and Cutting Acrylic
With the basic tests done, it was time to work with the real material for my sign: a sheet of black acrylic. The TOOCAA Studio software has helpful presets for different materials, but my acrylic was a slightly different thickness than the preset. This meant I had to adjust the power and speed settings myself through a bit of trial and error. I also tested the laser on the particle board I planned to use for the sign's backing, but I realized cutting all the way through it would take too long, so I decided to cut that simple shape on my table saw instead.
I placed the black acrylic sheet onto the laser bed and made sure it was lying perfectly flat. The first thing I always do is run the framing command again. This moves the laser head around the boundary of my design without cutting, so I can double-check that the entire design fits on the material and nothing is going to spill over the edges. I watched the red dot trace the outline of my sign's letters and logo, and everything looked perfectly centered.
Once I was confident with the positioning, I took a deep breath and pressed start. The laser head began moving, and I could hear the air assist pump helping to produce a cleaner cut by blowing away smoke and debris. After it completed the first pass, I had it run over the intricate lettering a second time to make sure every piece was completely freed. When I opened the lid, the laser module was only slightly warm to the touch, which shows the great cooling in the anodized aluminum enclosure. I carefully lifted out the freshly cut sign face, and it looked fantastic, with all the details sharp and clear.
Assembling the Box for the Sign
With the acrylic face of the sign cut, I gathered all the other pieces to start building the box. I had the main backing piece I cut from particle board on my table saw, and I also cut side pieces from white acrylic. To hold everything together at the corners, I designed and 3D-printed some custom brackets in white plastic. I began the assembly by gluing the transparent acrylic backing to the black acrylic. This creates a window that lets you see inside the sign, where I planned to add some old computer circuit boards for a cool, techy look.
Next, I started putting the walls of the box together. I attached the white acrylic side pieces to the 3D-printed corner brackets, building the outer frame. I then took the backing plate and slid it into this frame. To make the inside look more interesting, I arranged the old PCBs against the back and secured them in place with some small screws. This gives the sign a lot of visual depth and texture before we even add any lights.
Adding the LED Lighting
For the lights, I'm using a strip of SK6812 RGBW LEDs, which are the same type I used for another lighting project in my living room. I decided to install the LED strip around the top edge of the box, facing inwards. This way, the light will shine through the transparent backing, illuminating the old circuit boards, and also bounce out through the front acrylic panel. To get power to the LEDs, I drilled a small hole in the side of the box where I could feed the wires through.
I peeled the adhesive backing off the LED strip and carefully pressed it into place all around the interior frame. It's important to make sure the strip is seated firmly so it doesn't come loose later. After the strip was in, I fed the connector through the hole I had drilled. On the outside, I mounted a small electrical distribution box to house the power supply and the microcontroller that will control the lights. I then connected the wires from the LED strip to this controller inside the box.
With all the wiring connected, the last step was to secure the back panel. I had already pre-drilled some holes in the sides, so I could simply screw the backing into the side frames, enclosing the entire unit. This makes the sign look clean and finished from the back, and it also protects all the delicate electronics and wiring inside. Now the physical build was complete, and it was time for the final reveal.
The final step for the box structure was to attach the front panel. I carefully aligned the intricately cut black acrylic face with the box frame. Before gluing it on permanently, I used the cut-out pieces from the letters as a template. I applied glue only to the central parts of these pieces and placed them back into the front panel to hold them in the right position. Once that was set, I applied a bead of glue all around the edge of the frame and pressed the front panel into place, making sure it was perfectly aligned with the corners.
Final Results
The moment of truth has arrived. With the sign fully assembled and the LEDs wired up, I carefully mounted it onto the cleat wall in my basement and wired in a distribution box for it. This box holds the power supply and the NodeMCU that controls the lights, and it keeps all the wiring tidy and out of sight. Mounting it on the French cleat wall means I can easily take it down if I ever need to, but I have a feeling it's going to be a permanent part of my workshop.
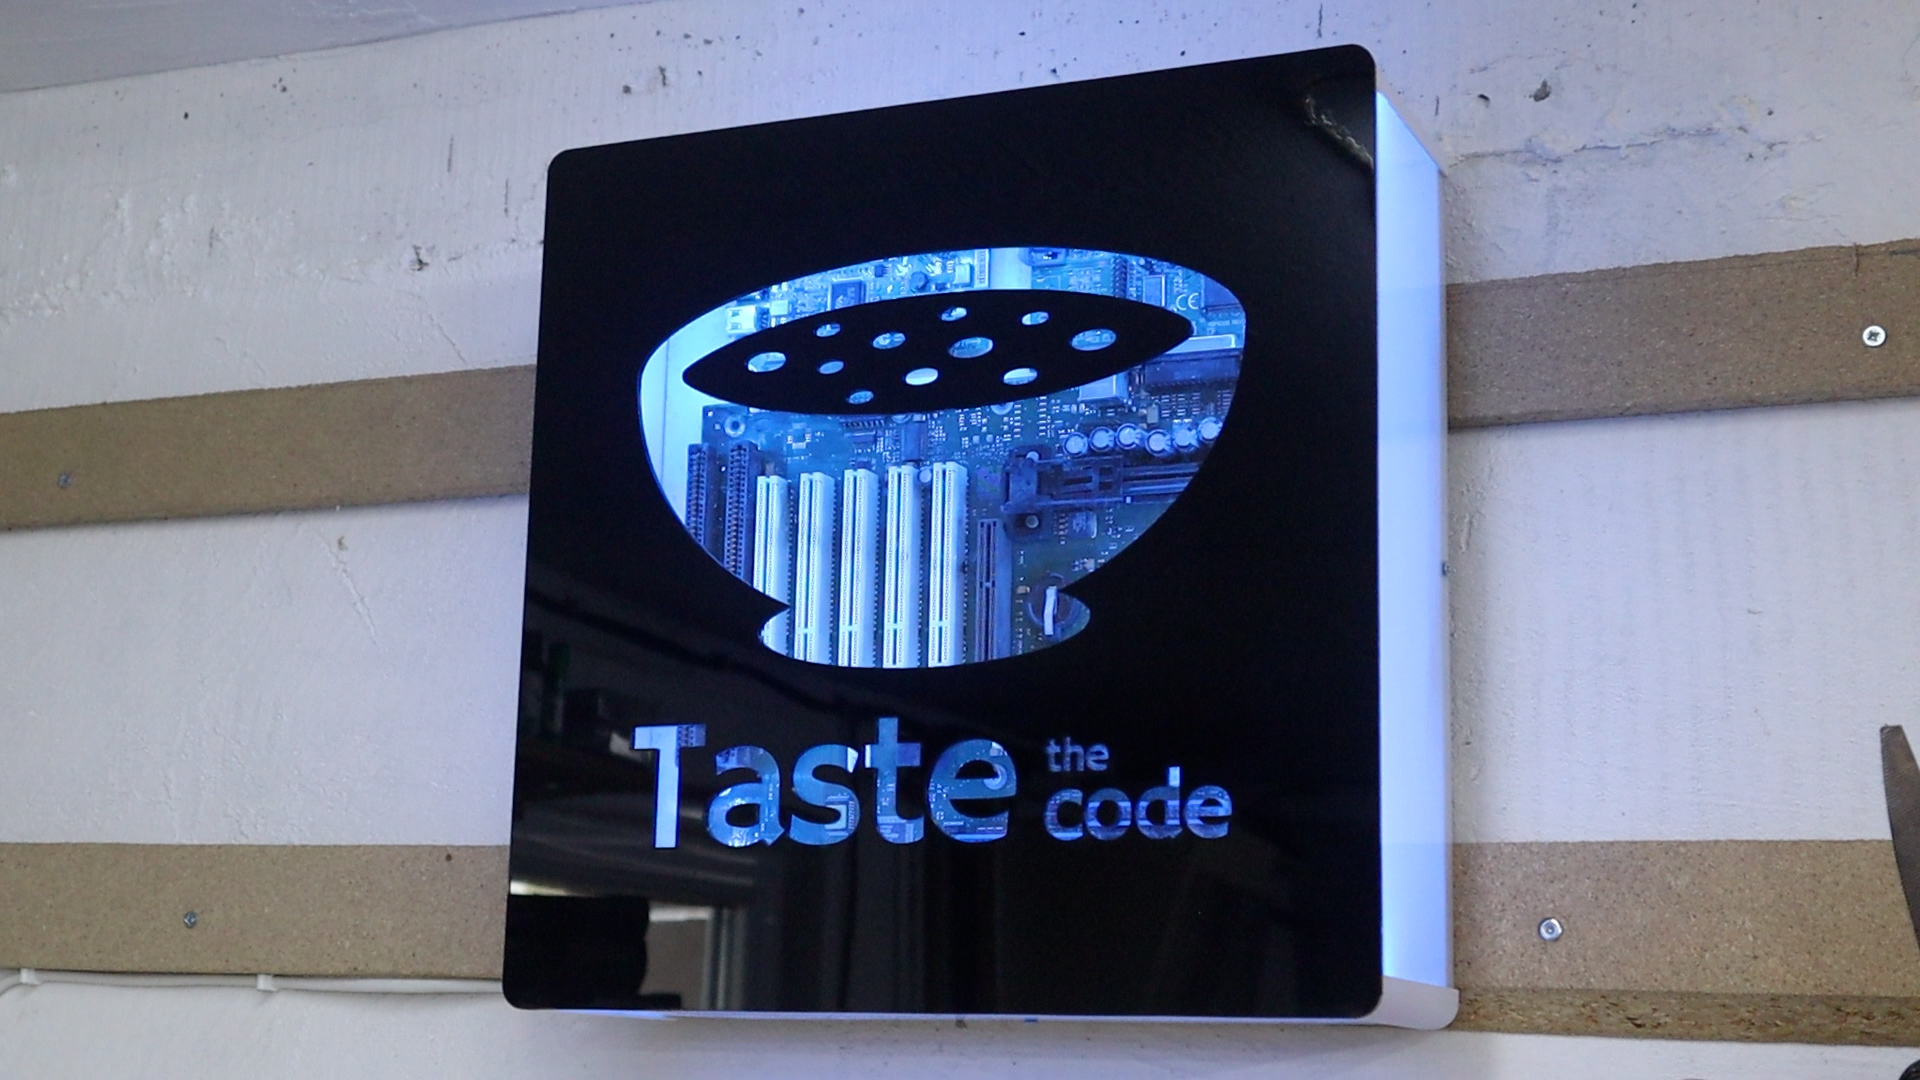
I plugged in the power supply, and the sign lit up instantly. It turned out even better than I had hoped. The light shines through the black acrylic lettering and spills out through the white sides, creating a really cool glow. Inside, the old computer circuit boards are illuminated, casting intricate shadows and adding a unique, personal touch that reflects my passion for electronics. It makes for a fantastic backdrop that I'm excited to have in the background for future project videos.
This project was a perfect way to test the new TOOCAA L2 laser and prepare it for use in my workshop. The sign not only adds a personal touch to the space but also functions as a practical light. I want to thank TOOCAA again for providing the laser that made the precise cuts for this project possible. I'm really happy with how it turned out, and I'm already thinking about what to build next in this space.
Tools and materials used in the Project
- NodeMCU development Board - https://s.click.aliexpress.com/e/_c36SLxyr
- ESP8266 - https://s.click.aliexpress.com/e/_c4388zEj
- WS2812 RGB Strip Controller - https://s.click.aliexpress.com/e/_c35rASkT
- WLED Controller with microphone - https://s.click.aliexpress.com/e/_c2xMqYQP
- SK6812 LED Strip - https://s.click.aliexpress.com/e/_c3SLxG2f
- https://s.click.aliexpress.com/e/_c4ND8AMT
- WS2812 LED Strip - https://s.click.aliexpress.com/e/_c45DhkuF
- Black Acrylic - https://s.click.aliexpress.com/e/_c30quoOn


