
I was using the ZBDongle-P with Home Assistant and thought it would be enough for everything I needed. It worked fine for Zigbee, but when I wanted to try some Matter devices, I realized I needed something more. That’s when I found out that the ZB Dongle-E is the right one for the job because it can handle both Zigbee and Thread.
At first, I thought I could just flash a multi-protocol firmware on the dongle and be done with it. A lot of guides online still show that method, but the problem is the add-on that makes it work inside Home Assistant has been deprecated. It caused too many issues, and the developers dropped support for it. So instead of following that path, I decided to look for another way.
In this article, I’ll share how I set up the ZBDongle-E for Thread and used it together with my ZBDongle-P for Zigbee. This way I can connect both Zigbee and Matter devices without depending on an outdated add-on. It turned out to be a cleaner solution and something you can try as well if you’re just starting out.
Understanding the Dongles and Multi-Protocol Setup
When I first looked at the two dongles, the ZBDongle-P and the ZBDongle-E, they seemed almost identical. They’re the same size, connect the same way, and both work well for Zigbee. The real difference is inside. The ZBDongle-P has a chip that only runs Zigbee, while the ZBDongle-E has a different chip that can also run Thread. That’s important because Matter devices often use Thread, and without it, you can’t connect them directly to Home Assistant.
Originally, the idea was that you could flash a special multi-protocol firmware on the ZBDongle-E and use it for both Zigbee and Thread at the same time. For a while, that worked with a Silicon Labs add-on in Home Assistant. The issue is that this add-on has now been abandoned because people kept running into problems when mixing the two networks. That means most of the tutorials out there are already outdated, even if they still look useful at first glance.
Since then, Sonoff stepped up and promised to keep multiprotocol alive. They are trying to keep multi-protocol alive with their own tools and tests, but nothing is ready for day-to-day use yet. Because of that, the safer choice right now is to keep things simple and dedicate one dongle to Zigbee and another one to Thread. That’s the approach I took, and it turned out to be straightforward once I got the right firmware on the ZBDongle-E.
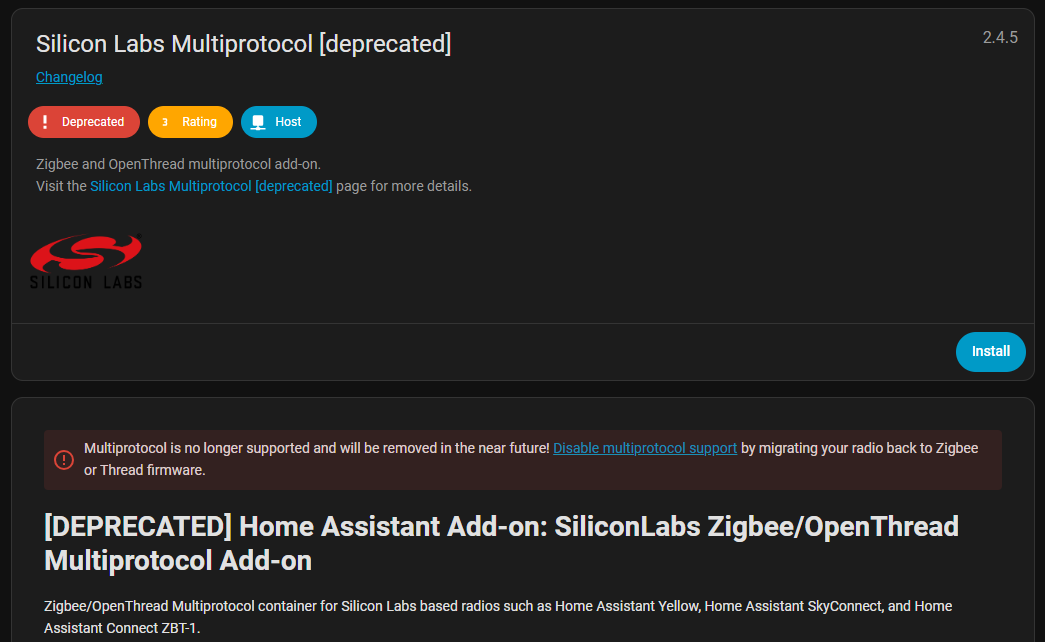
Deprecated multi-protocol addon in Home Assistant
Flashing the Dongle for Thread
To get the ZBDongle-E ready for Thread, I first plugged it into my computer with a USB cable. Sonoff provides a small flasher tool that makes this process simple. When I opened it, I clicked on connect and chose the dongle from the list of available devices. The tool showed me the current firmware, which was set up for Zigbee by default.
Since I wanted this dongle only for Thread, I went ahead and chose the OpenThread firmware option from the list. After selecting it, I pressed the flash button and waited a few minutes while the program updated the dongle. Once it finished, the dongle restarted on its own, and I reconnected just to double-check that the new firmware was installed.
At this point, the dongle was no longer a Zigbee coordinator but a Thread radio. That meant I could now use it in Home Assistant as part of a Thread Border Router setup. With that done, I was ready to move on and add the dongle into my Home Assistant installation.
Adding the Dongle to Home Assistant
After flashing the dongle, the next step was to make sure Home Assistant could see it. In my case, I’m running Home Assistant inside Proxmox, so I had to pass the USB device through to the virtual machine. I already had the ZBDongle-P added for Zigbee, so I went back into the VM settings and added the second USB device, which was the ZBDongle-E. Once that was saved, I restarted the VM so the change would take effect.
When Home Assistant came back online, I went into Settings, then System, and opened the Hardware page. Searching for “tty” showed me both dongles listed, which meant the system had picked them up correctly. That was the confirmation I needed before moving on.
With both dongles now visible in Home Assistant, I had one ready for Zigbee and the other one set up for Thread. The last part was to configure the software side so that Home Assistant could actually use the Thread dongle.
Setting Up Thread and Matter in Home Assistant
With the dongle detected, I went into the add-ons section in Home Assistant and installed the OpenThread Border Router. This add-on is what makes the ZBDongle-E act as a Thread radio inside the system. In the settings, I selected the ZBDongle-E from the list of available devices and kept most options as they were, only disabling hardware flow control since that was suggested in examples I found online. Once I hit start, the add-on came to life and the Thread network was ready.
The next step was to add the Matter server. Home Assistant makes this easy by offering an official add-on for it. When I installed it, the server started running in the background. With both the Thread Border Router and the Matter server active, Home Assistant was finally prepared to talk to Matter devices.
To add a device, I went to Integrations and chose Matter. The system asked me to scan the QR code on the device using my phone. After scanning, the device connected, in my case over Wi-Fi, but it would also work over Thread if the device supported it. The process only took a minute, and once done, the new device showed up inside Home Assistant just like any other integration.
Testing and Final Thoughts
Once I had Thread and Matter running, I tested by adding a smart presence sensor. It connected quickly, and Home Assistant immediately showed its readings for occupancy and luminance. Having both the Zigbee and Thread networks set up separately made things simple and reliable, without relying on the deprecated multi-protocol add-on.
This setup shows that even though the old add-on is no longer supported, you can still run Matter devices in Home Assistant safely by dedicating one dongle to Zigbee and another to Thread. It also gives you flexibility for future devices, since you now have both networks ready to go.
Overall, the process was easier than I expected once I understood which dongle to use for each network and how to flash the firmware. If you’re just starting with Matter in Home Assistant, this method avoids outdated tools and gives you a stable, working setup. In the future, if multi-protocol support becomes fully available again, you could simplify it further, but for now, this approach works reliably.
The links below are affiliate links. When you click on affiliate links in my articles or videos, it means I may earn a small commission if you make a purchase. These links are a way to support my work without costing you anything extra—the price you pay stays the same, whether you use the link or not. The commissions I earn help cover the costs of creating free content, so I can keep sharing knowledge and helping you with your DIY projects. It’s a win-win: you get the tools or products you need, and I get to keep creating helpful resources for everyone. Thank you for your support!
- ZBDongle-E - https://s.click.aliexpress.com/e/_olGX2pR
- ZBDongle-P - https://s.click.aliexpress.com/e/_oCdrDm9
- Mini PC for Home Assistant - https://s.click.aliexpress.com/e/_oFCIPEH
- Presence Sensor - https://s.click.aliexpress.com/e/_onuqlmV
- Smart Switch - https://s.click.aliexpress.com/e/_oC8XRgD
- Water Leak Sensor - https://s.click.aliexpress.com/e/_oDnQRVx
- Smart Valve - https://s.click.aliexpress.com/e/_ol3y5zb
- Smart Garage Opener - https://s.click.aliexpress.com/e/_oplr1XR
- Smart Thermostat - https://s.click.aliexpress.com/e/_ol0Xtmz


