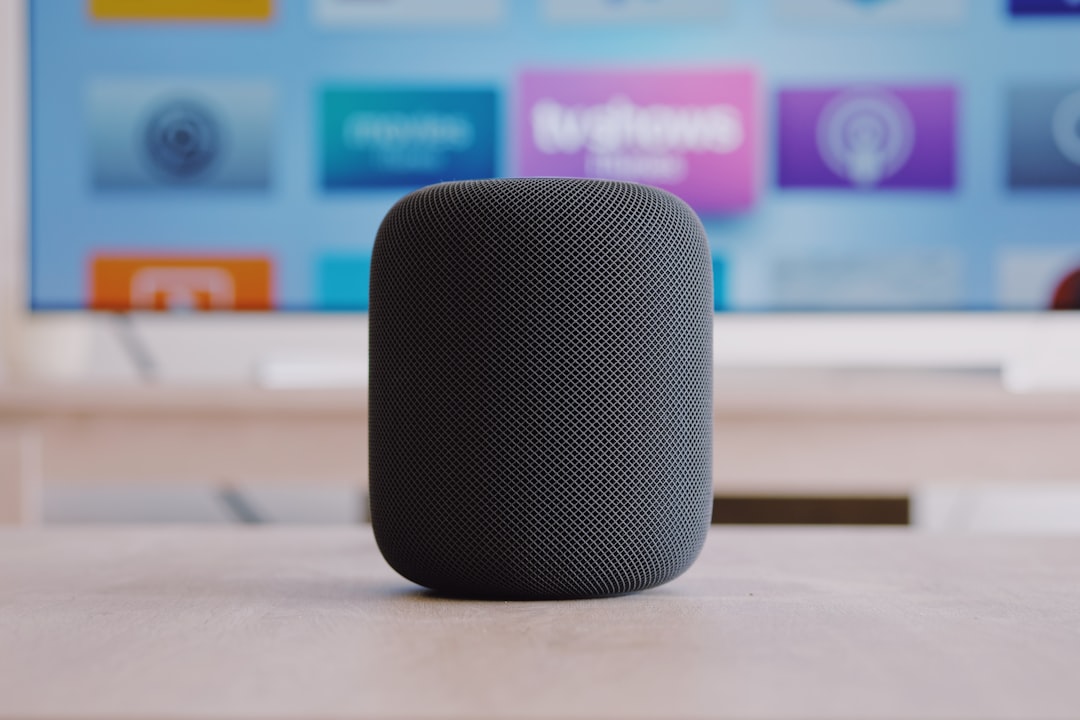
A friend of mine asked me if I could take a look at his Bluetooth speaker and see if I could repair it as it was not showing any signs of life.
The speaker does not have any brand markings and I thought it would probably be an easy repair like a loose wire or similar as there was a rating sound coming from inside. However, that turned out completely wrong, I wondered in a few directions but eventually, I managed to fix it and get it operational.
The video and the related article are sponsored by Altium Designer and Altium 365.
Opening the speaker
To open the speaker, I first started from the bottom as it was clear that there are screws there. I removed the screws and the bottom cover, and that exposed the speaker. However, when I removed the speaker screws, I realized that I won't be able to remove it as the wire was holding it inside.
I then proceeded to investigate the construction and I realized that there are hidden screws under the top foam layer that I then peeled off. Inside I got access to the PCB that I removed to reveal the battery.
Diagnosis of the battery
Since I did not find any obvious flaws with the board like water damage, corrosion, or any burnt components, my suspicion moved towards the battery as I thought that it might have fallen below voltage and that it was unable to start the charging process.
To investigate this I measured the battery voltage at the connector without any reading so I proceeded to remove the protection sleeving from it. This allowed me to measure the voltage directly at the battery terminals and I was able to measure out 2.52V. This indicates that the battery is empty but still good and operational so I needed to shift my focus elsewhere to find what was wrong with the speaker.
Diagnosing the charging port and circuitry
Since the battery looked OK, I connected a charging cable to see how the device behaves, through my USB power meter. Since it indicated that there was no current flowing, I started a closer inspection of the charging port as well as the circuitry around the charger.
This revealed that the charging port was slightly lifted from the PCB and it had two tracks broken on the PCB where it attaches.
I don't have a replacement port, so I decided to remove it from the PCB, figure out the damage, and see if I can reuse the connector.
Reflowing the charging connector
To remove the connector from the board, I first added some fresh solder over the pins of the connector and its mounting points and I then used my hot air soldering gun to heat the PCB from behind and gently lift the connector with the tweezers.
After cleaning the area and removing all of the solder, I realized that two of the pads were broken on the PCB but they both went to a single pad on the PCB before they continued to the rest of the board.
The connector looked good, so I added some fresh solder, aligned it properly, and soldered it back to the PCB, making sure I used plenty of solder to make it stiff and secure.
I then used a thin wire to jump from the connector to the pad where the tracks were previously attached and the speaker was now ready to be tested.
This process would have been much easier if I had a microscope, but with some fiddling around, I managed to do it even without one.
Functional Testing
To test out my repair, I connected the charging lead again and I was happily treated with glowing lights. I still did not have the speaker connected but this was a good sign so I quickly connected everything and paired it with my phone.
The process went smoothly and I was then able to play music from my phone to the speaker. To finalize the repair, I assembled everything back as it was before and I called it fixed.
Conclusion
Even thou this turned out to be a much more involved repair than what I anticipated, I'm always happy when I bring a device back to life. Many faults can be easily addressed and in some cases like this, they don't even require any replacement parts.
Changing the connector would have been better but I reckon there is some more life left in this especially if it is handled with care.
If you have any questions regarding the repair, feel free to message me below and I will be glad to help. For more repair videos, you can check my Healing Bench series on YouTube, and don't forget to subscribe for more repairs and project videos in the future.
Tools and materials
- Hobby Rework Station - https://s.click.aliexpress.com/e/_mNMzK9c
- Professional Rework Soldering station - https://s.click.aliexpress.com/e/_Eze4GQ9
- USB Connector - https://s.click.aliexpress.com/e/_mKYPzCQ
- Multimeter - https://s.click.aliexpress.com/e/_oF0Us5m
- Pen Screwdriver - https://s.click.aliexpress.com/e/_ooZj4DO
- Wire Snips - https://s.click.aliexpress.com/e/_onMGo9A
- Soldering Flux - https://s.click.aliexpress.com/e/_oFAijTQ
- Bench Power Supply - https://s.click.aliexpress.com/e/_olvfMc4
- USB Power Meter - https://s.click.aliexpress.com/e/_mOJuGDM
By purchasing from the links above, you support me and my channel at no extra cost to you!


