I have a passion for tools. I find it amusing to own as many of them as possible. I see tools as a way of extending my capabilities and an awesome speed booster on projects when I'm in my workshop.
So whenever I can, I treat myself with a new tool.
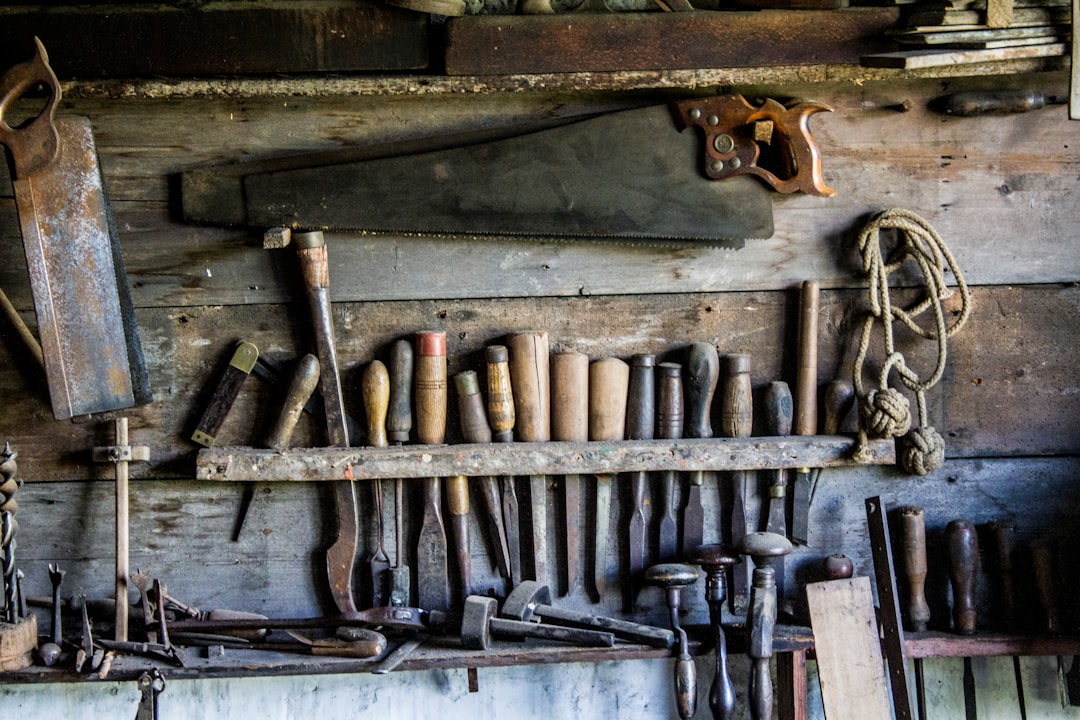
But, no matter how many tools I buy, there is a special place in my workshop for a different category of tools, the ones that I make myself.
So far, I've made myself a chipping hammer, an air filter, grappling hook, automatic load switch, miter saw stand, Moxon style vice, non-contact voltage tester, hot wire cutter, and a lot more other tools that I enjoy using in my workshop.
The latest tool that I've bought, was an inverter welding machine and with it, I started making some more metalworking projects like the ski sled that I made recently, and on many of them, I needed to drill holes.
Drilling into metal requires a punched hole, and for that, I was using an automatic center punch that I had purchased from AliExpress a while ago. The punch works OK, but at times I find that it lacks the force to make a big enough dent in the metal so the drill bit is not sliding off to one side.
To solve this I wanted to make a new center punch and for it, I managed to find an old car engine valve from a local repair shop. The valve was destined for the scrap so I even got it for free.
Car valves are made out of a special alloy of high chromium stainless steel and they are incredibly durable and strong, so this will make them the perfect material for a punch that can be used without being damaged.
The biggest challenge in making the center punch was how to mount it into my drill so I can spin it against the disk sander to make the cone on the tip. To goal was not to remove the valve head as it is the perfect surface for striking with a hammer. I first tried with hot glue with some success but I then used some steel wire to wrap it around and mount it into the drill chuck.
You can check the full making process in the video below.
In the end, I've spent about an hour, but I now own a tool that will help me with future projects. Not only that but with every single strike on it I will be reminded that I made this and that will be an inspiration to make even more projects and tools in the future.
Feel free to join my journey by subscribing to my YouTube channel.
Tools and materials used in the video:
- Automatic Center Punch - https://s.click.aliexpress.com/e/_ApGIxt
- Cordless drill - https://s.click.aliexpress.com/e/_AfEvlZ
- Disk and Belt Sander - https://s.click.aliexpress.com/e/_9xEDSj
- Torch lighter - https://s.click.aliexpress.com/e/_9uQ5gB
Alternative links on Banggood:
- Automatic Center Punch - https://www.banggood.com/custlink/Dmvd88jAuw
- Cordless drill - https://www.banggood.com/custlink/mKKR9iOzmG
- Angle Grinder Sander - https://www.banggood.com/custlink/vmGESSLMvH
- Butane torch - https://www.banggood.com/custlink/KGmdSioqDa


