This is the narrative of the video on my YouTube channel. Feel free to continue reading if that is your thing or watch it above.
The entire idea about the boat came from a friend of mine that we go fishing with.
We wanted to make something that will help us cast a line from shore, at a much greater distance than what we can throw by hand.
Not only that, but we wanted to also have the ability to transport live bait with the boat as well as a load of about 1kg of corn for when we go carp fishing.
One of the main reasons why we decided to go with an airboat and not a more traditional design is the fact that in some of the places that we go fishing, there is an awful lot of weeds in the shallow water so a propeller can very easily get tangled and the boat can get stuck.
With an airboat, there is nothing that sticks out on the bottom so, in theory, it can pass easily over any weeds.
However, as you probably already saw from the video title, not everything went as planned and some of the design decisions made were not right. Let’s first go over the built part to see how I built the boat and I’ll later talk on what went wrong and what I’ll do next to fix it.
Since I’ve never built a boat before, I wanted to just start experimenting and I grabbed a piece of corrugated plastic and I cut a rectangle out of which I removed two triangles from the front to get a sort of triangular shape for the boat.
Since I wanted to go easy on the build and cut a few corners, I used 4 plastic water bottles as the main source for buoyancy. Two of them will go to the front and two in the back, so I first marked the position, drilled some holes right next to where the bottles will be and I proceeded with gluing the bottles with hot glue.
As I wasn’t sure if the glue alone will be strong enough, I threaded some garden string through the holes I made earlier and tied each of the bottles to the plastic as a reinforcement. As an additional measure, I also glued the string to the bottles so it won’t slip.
When I had the basic platform, I noticed that there is a bit of flex in it in the direction of the sections in the plastic so I’ve added a piece of wood on the bottom as support. This is held in place with three M3 screws and bolts and I additionally applied some hot glue to it.
With the platform ready, I next worked on the motor mount. For the motor, I have an A2212 2200KV brushless motor that comes with its mounting bracket so I made a holder for it out of the two triangular pieces that I’ve cut from the front of the platform.
I glued both of these pieces together at an angle and I marked and cut a small piece out of high-density fiberboard to act as a backing for the motor mount.
In a typical airboat, the motor is mounted at the back of the boat so it is behind the pilot. In our case, the boat is supposed to tow a fishing line, so there was a big risk that it might get tangled in the propeller, To avoid that, I’ve mounted the motor on the front of the boat so that there is plenty of space on the back for the carrying crate.
The motor sits at about 20 cm from the platform so there is enough clearance underneath to have a plastic food box glued to the frame as an enclosure for all of the electronics and the battery.
Since the carrying crate will be on the back to prevent tangles of the fishing line as it is being pulled, I installed another wood piece in the middle, right after the electronics box to serve as a mounting place for the rudders.
The two rudders are also built from the same corrugated plastic and they have a metal bar glued to the front of them. The bar is bent on the top and it goes over the plastic so once it is glued it can better hold the plastic in place.
The wood piece for the rudders is held in place with 3 M3 screws and I’ve also drilled two shallow holes, one on each side so I can mount the rudders in them. They are drilled with the same size drill bit as the metal wire that goes in them.
The control servo is also mounted on this wood piece with a single screw and to connect everything up, I made hooks out of craft popsicle sticks.
I first cut the popsicle sticks to length with a wire cutting plier and using my rotary tool, I’ve made holes for the metal wire that will connect them.
For the sake of simplicity, both of the rudders are first connected to each other, and then only one of them is connected to the servo.
The final touches were the mounting of the motor propeller as well as wiring all of the electronics and this is quite straightforward. The motor ESC connects to the receiver on channel 1 while the rudder servo is connected on channel 3. This way it can be controlled by the right stick on the remote.
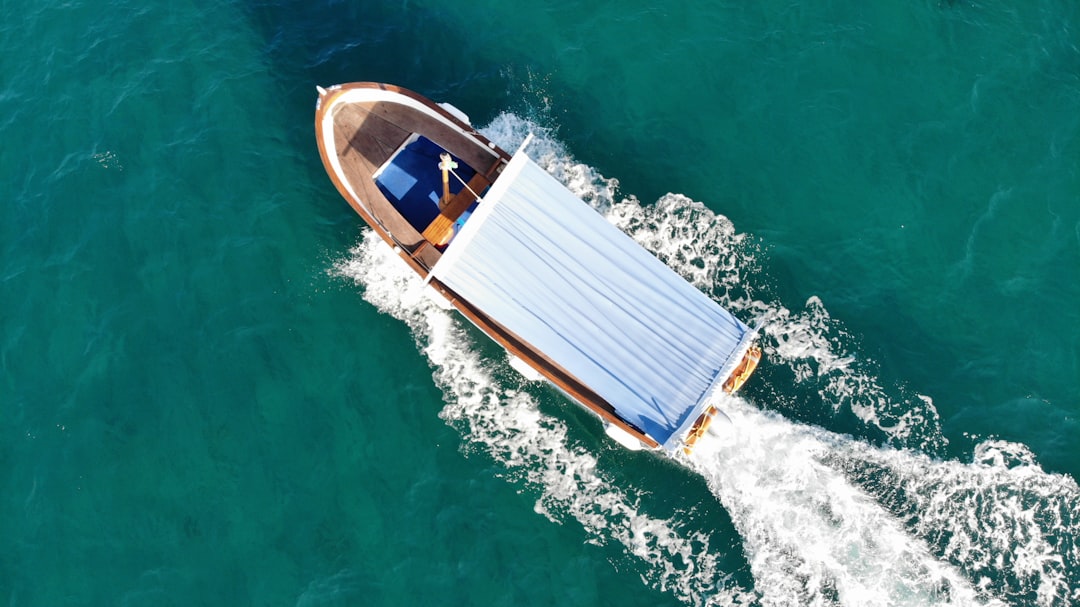
I’ve tested the connections on my workbench and with everything seemingly OK it was time for the big test to see if it worked as expected, but you already know the outcome of that.
I wanted to make the tests in a local pool but it was closed so I headed to a nearby small lake which is used for irrigation that was almost empty but it still had some water in it that was almost entirely circled by thick mud.
For start, it floats. However, buoyancy is not that great as with just a small load that I’ve tried the bottles are almost entirely underwater. I was hoping that this will not be the case as first they can still catch on a weed and second they introduce a lot more drag than I want them to but this wasn’t the biggest issue.
The biggest issue with the boat is that it does not steer at all. At first, I was baffled as to why this happens but after sleeping on it it was perfectly clear that the entire culprit is the position of the rudders.
As I mentioned before on a traditional airboat, the rudders are placed on the back of it and there is a good reason for that. Being at the back, the force that they produce acts on the far back of the boat while the front acts as an anchor and a pivot point on which the boat turns.
In my case, I mounted the rudders in basically the middle of the boat so there is no pivot point and the force produced by the rudders pushes the boat to the side. This combined with the forward push from the propeller, moves the boat sideways instead of turning.
Since this was the very first test of the boat, I wanted to tie it up with a fishing line just in case it wandered off but, carried by the excitement I forgot to do that and applied the throttle which worked beautifully and the boat immediately got away from me.
I now tried to turn it around which didn’t happen so I now had to take out my shoes, go through the mud and rescue the boat from the other side of what was left of the lake.
It would have been great if I filmed that but I switched into panic mode and I totally forgot to record anything from the testing. Luckily, my friend did record something so you can at least get a glimpse of what was going on and the entire ordeal.
Anyway, lessons are learned and I will now work on version 2 of the boat where I want to improve two things. The first obviously being the steering and the second one is the buoyancy.
For anyone out there that has any ideas on how to fix my boat, I will kindly ask you to leave comments down below and if you want to see how I do those modifications then please subscribe and hit the notification bell so you don’t miss it.
In the meantime, you can check some of my other videos and check the description below where I’ll have links to all of the components I used on the project.
Tools and materials used in the video:
- A2212 RC Brushless Motor - https://s.click.aliexpress.com/e/_d8VTDRx
- 30A Brushless Motor ESC - https://s.click.aliexpress.com/e/_dVRbIZL
- High power servo - https://s.click.aliexpress.com/e/_dXqayPr
- 9g servo motor - https://s.click.aliexpress.com/e/_dWBgW4v
- FlySky FS-i6X RC transmitter with FS-i6B receiver - https://s.click.aliexpress.com/e/_dXH8DMz
- 2200 mAH 11.1V Li-po RC battery - https://s.click.aliexpress.com/e/_dWsq0jn
- Li-po low voltage battery alarm - https://s.click.aliexpress.com/e/_dX7EKff
- RC replacement propellers - https://s.click.aliexpress.com/e/_dWyGB5X
- Utility knife - https://s.click.aliexpress.com/e/_dTkZJpB
- Hot Glue Gun - https://s.click.aliexpress.com/e/_dSGObPL
- Hot glue sticks - https://s.click.aliexpress.com/e/_d6FCekD
- Stainless steel ruler - https://s.click.aliexpress.com/e/_dTl8dP3
- Mini drill - https://s.click.aliexpress.com/e/_d8lfagt
- Machinist square - https://s.click.aliexpress.com/e/_d7MBCl7


