If you have a project in mind that needs to detect some movement, a PIR, or a passive infrared sensor is one of the first options that come to mind.
This type of sensor measures infrared light radiating from objects in its field of view and is most often used in motion sensors for alarm systems or automatic lights. Although it detects movement, it can’t give information on who or what moved so it is a nice balance between detection and securing privacy.
Since we can easily order them online in both the module and their bare form, the goal of this article and video will be to see which one is better and in what application we can use each of them.
The most common way of using these sensors with an Arduino or with a simple circuit is to use one of these pre-made modules that have additional electronics on board to handle the signal coming out of the sensor.
The chip on the board is usually BISS0001 which is specifically designed for use with motion detection sensors. This chip has the ability to control the sensitivity of the sensor, the light levels at which it turns on when fitted with a photoresistor and the time the output is kept ON when a movement is detected.
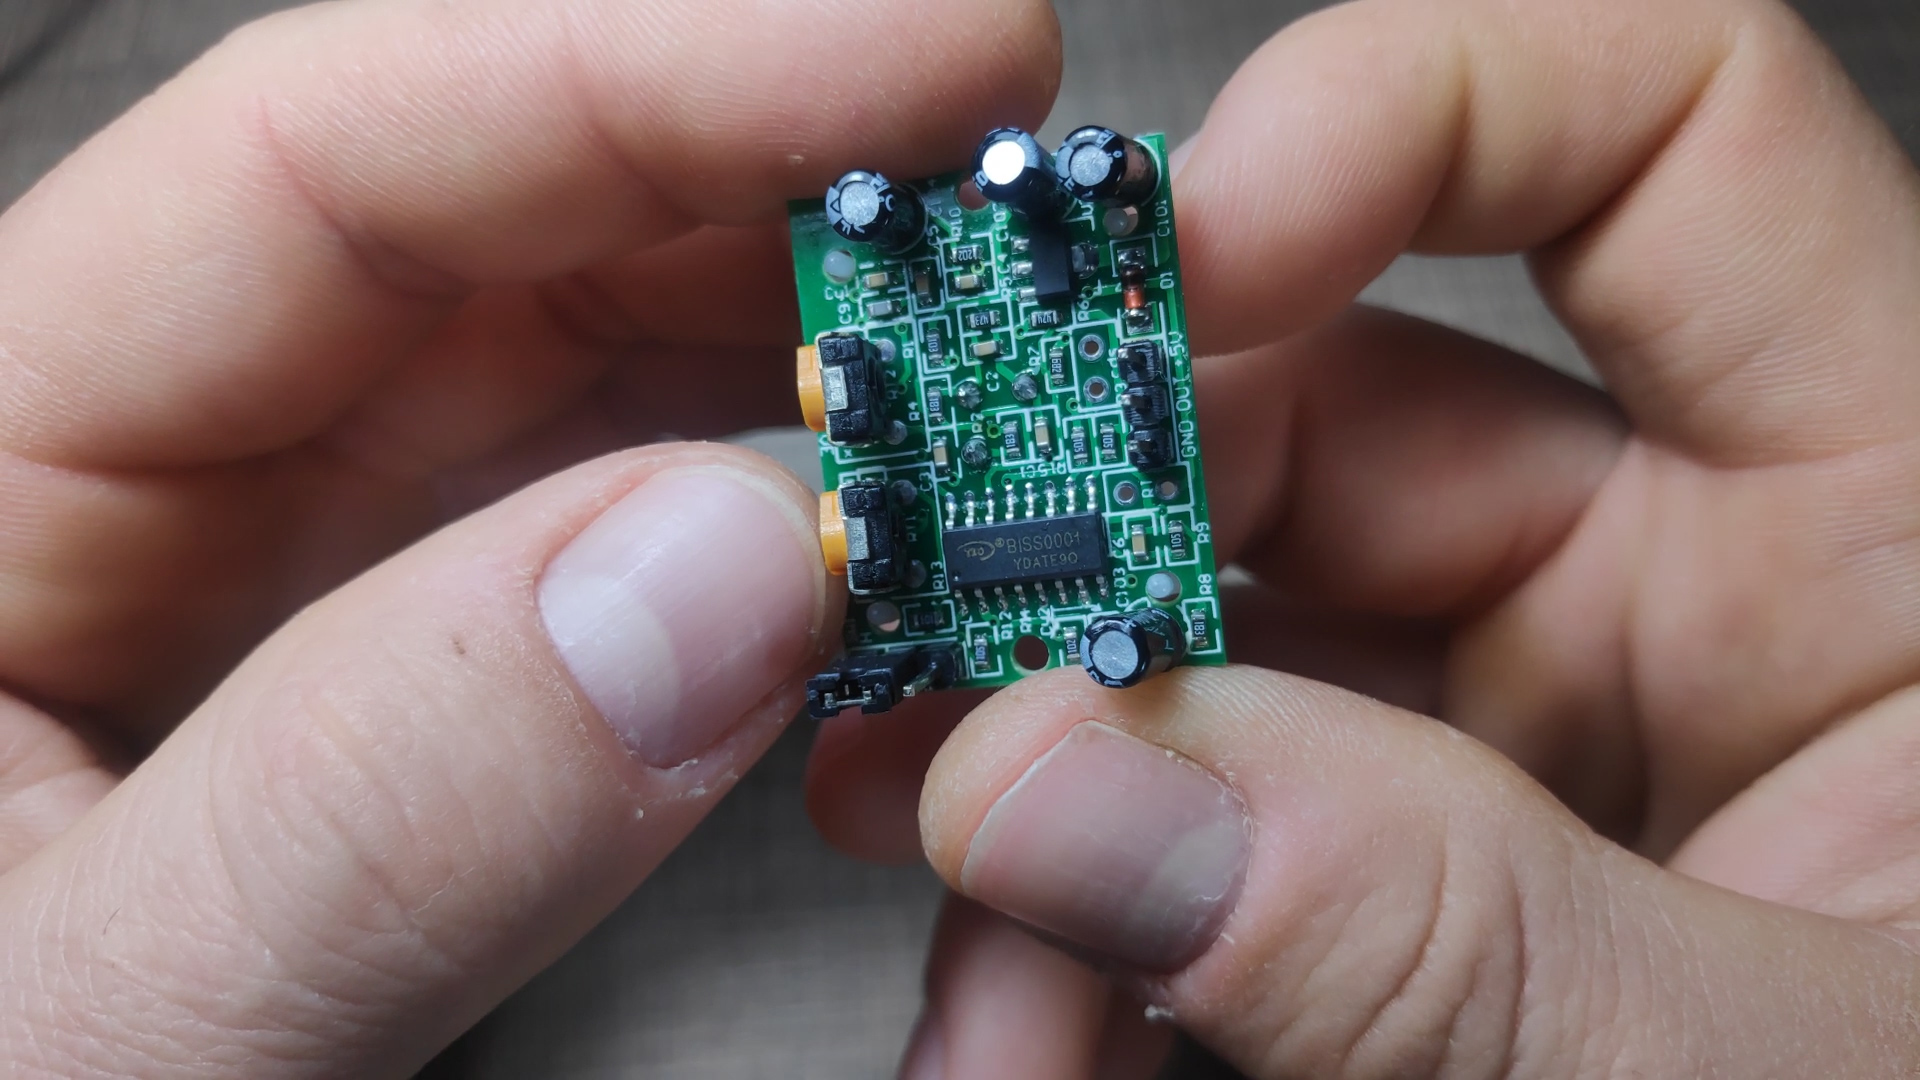
The module with the BISS0001 chip
This configuration is so widespread that if you try searching for a PIR sensor online, basically all of the results offer the module and not the element alone.
Most commercially available motion-triggered lights use this same chip in a combination with a photoresistor to control a relay and by moving the adjustment pods we can control the time the light is on and also control the light sensitivity when to turn on.
This module can be powered with anything between 4.5V and 20V but because of the built-in regulator on the output, it will always output 3.3V.
When provided with 5V on the input we can directly use it without any microcontroller or extra circuitry.
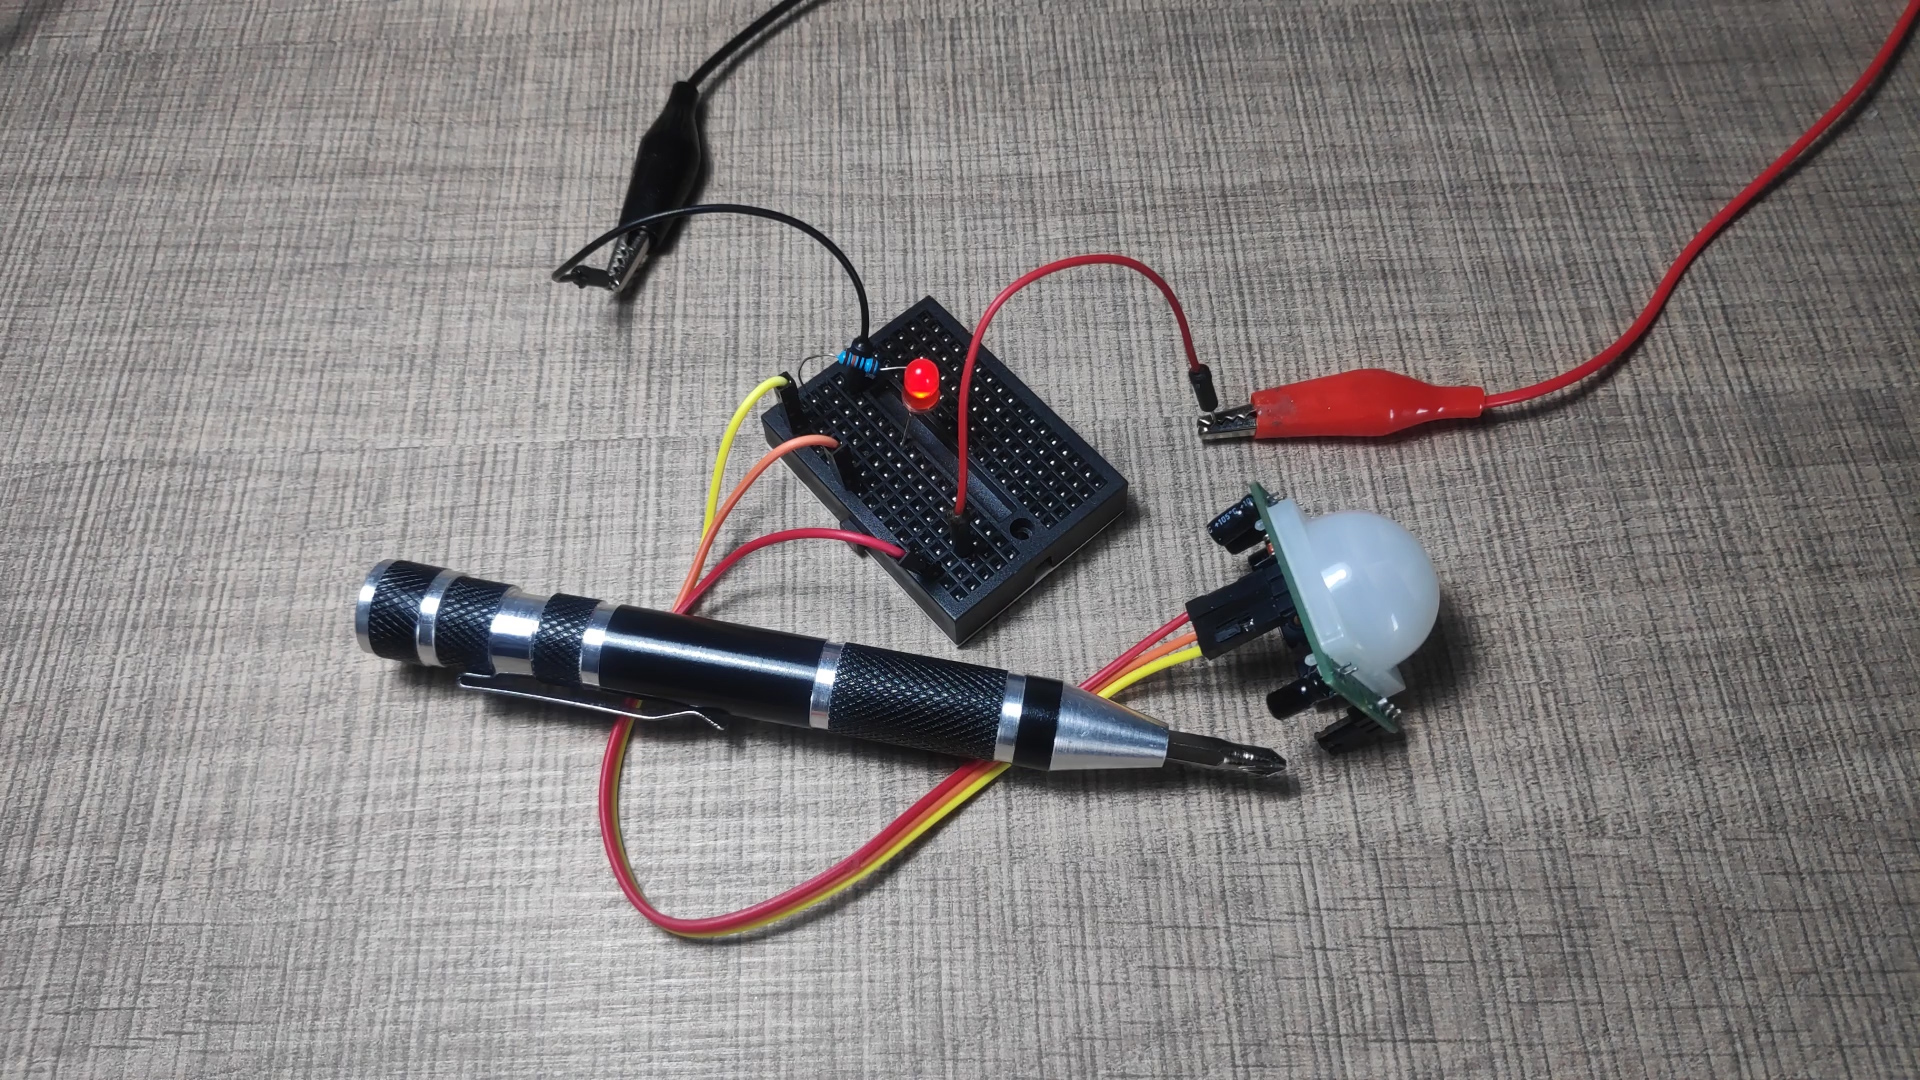
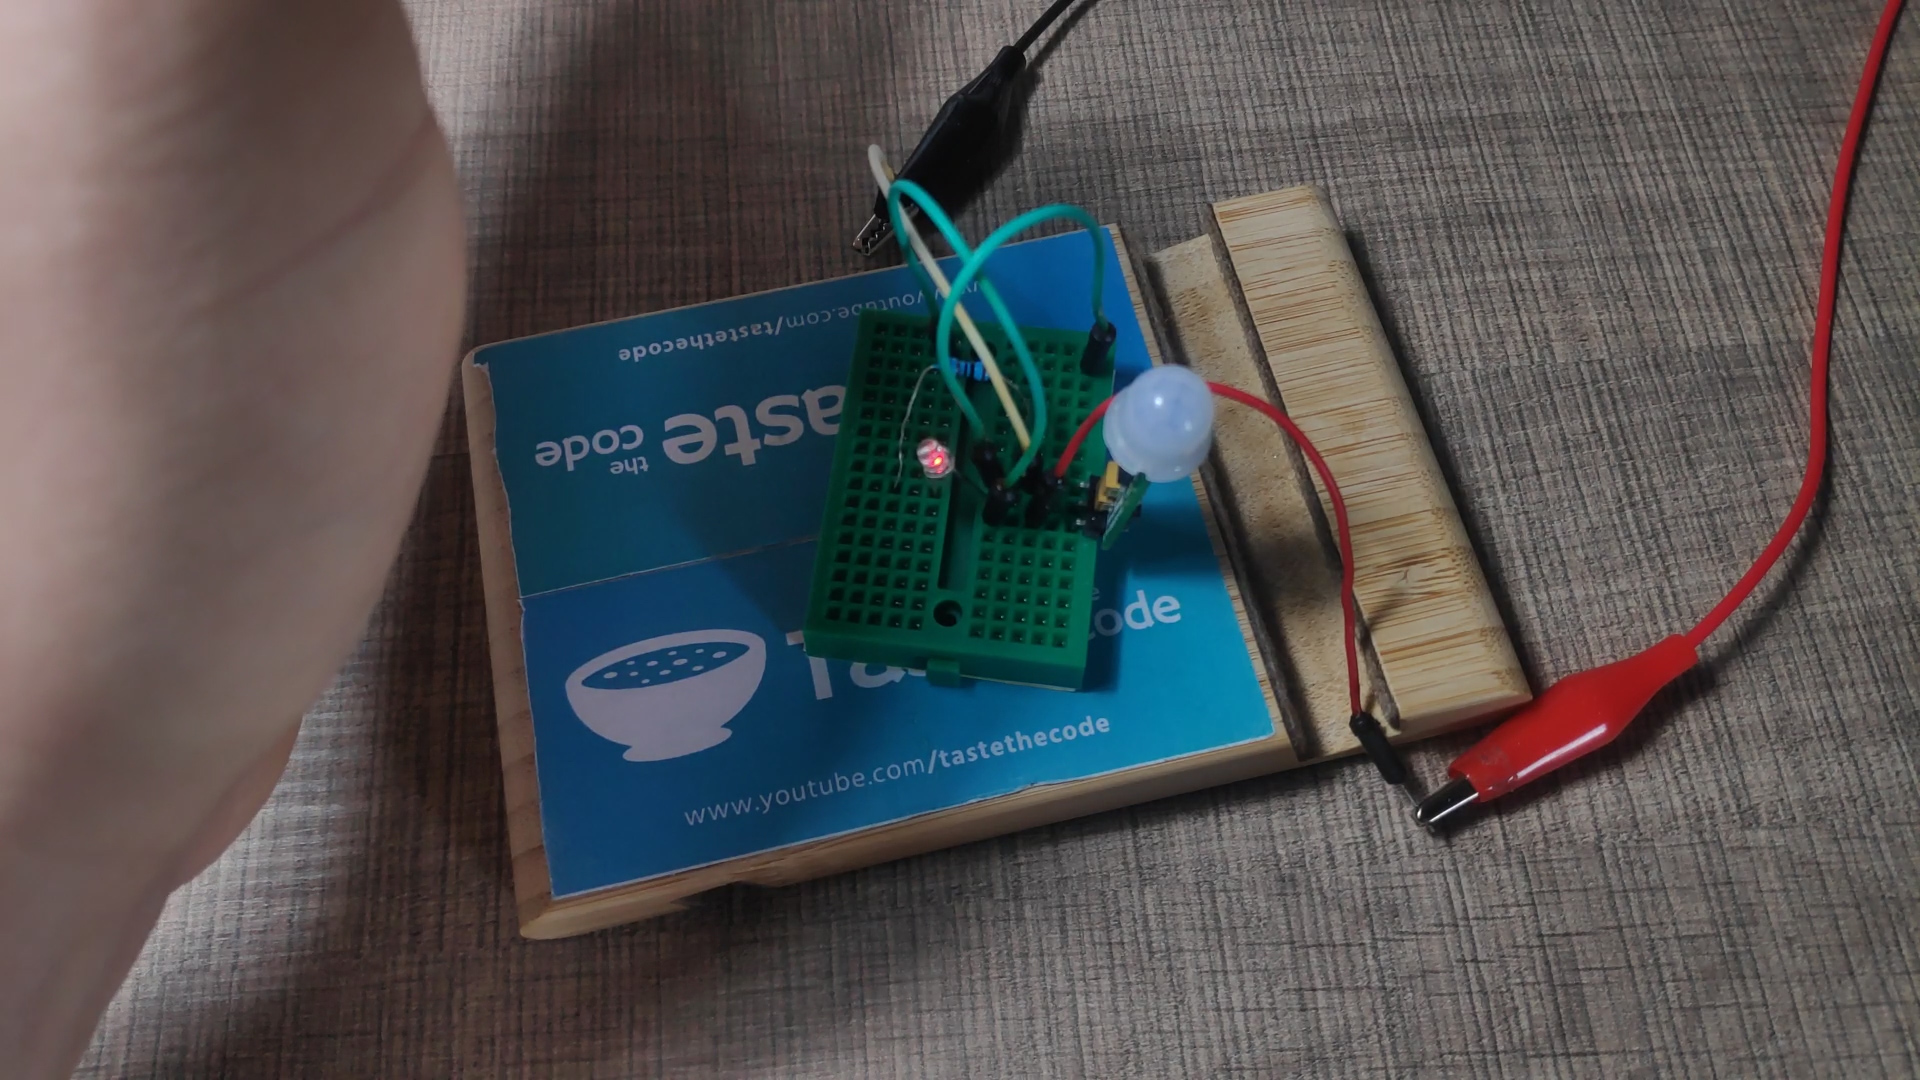
The PIR module directly turns on a red LED
In the example circuit above, I’ve connected a resistor and an LED to the output of the sensor so whenever a movement is detected, the LED turns on. This can be extended to turn on a relay and without the use of any microcontroller, we can control connected appliances.
The time the output is on is controlled through one of the trimmer pods and can be extended to up to 7 minutes depending on the module that you have.
This is very convenient and easy for use but in situations where space is a constrain in the design, this module is relatively bulky and can require extra space in the finished device.
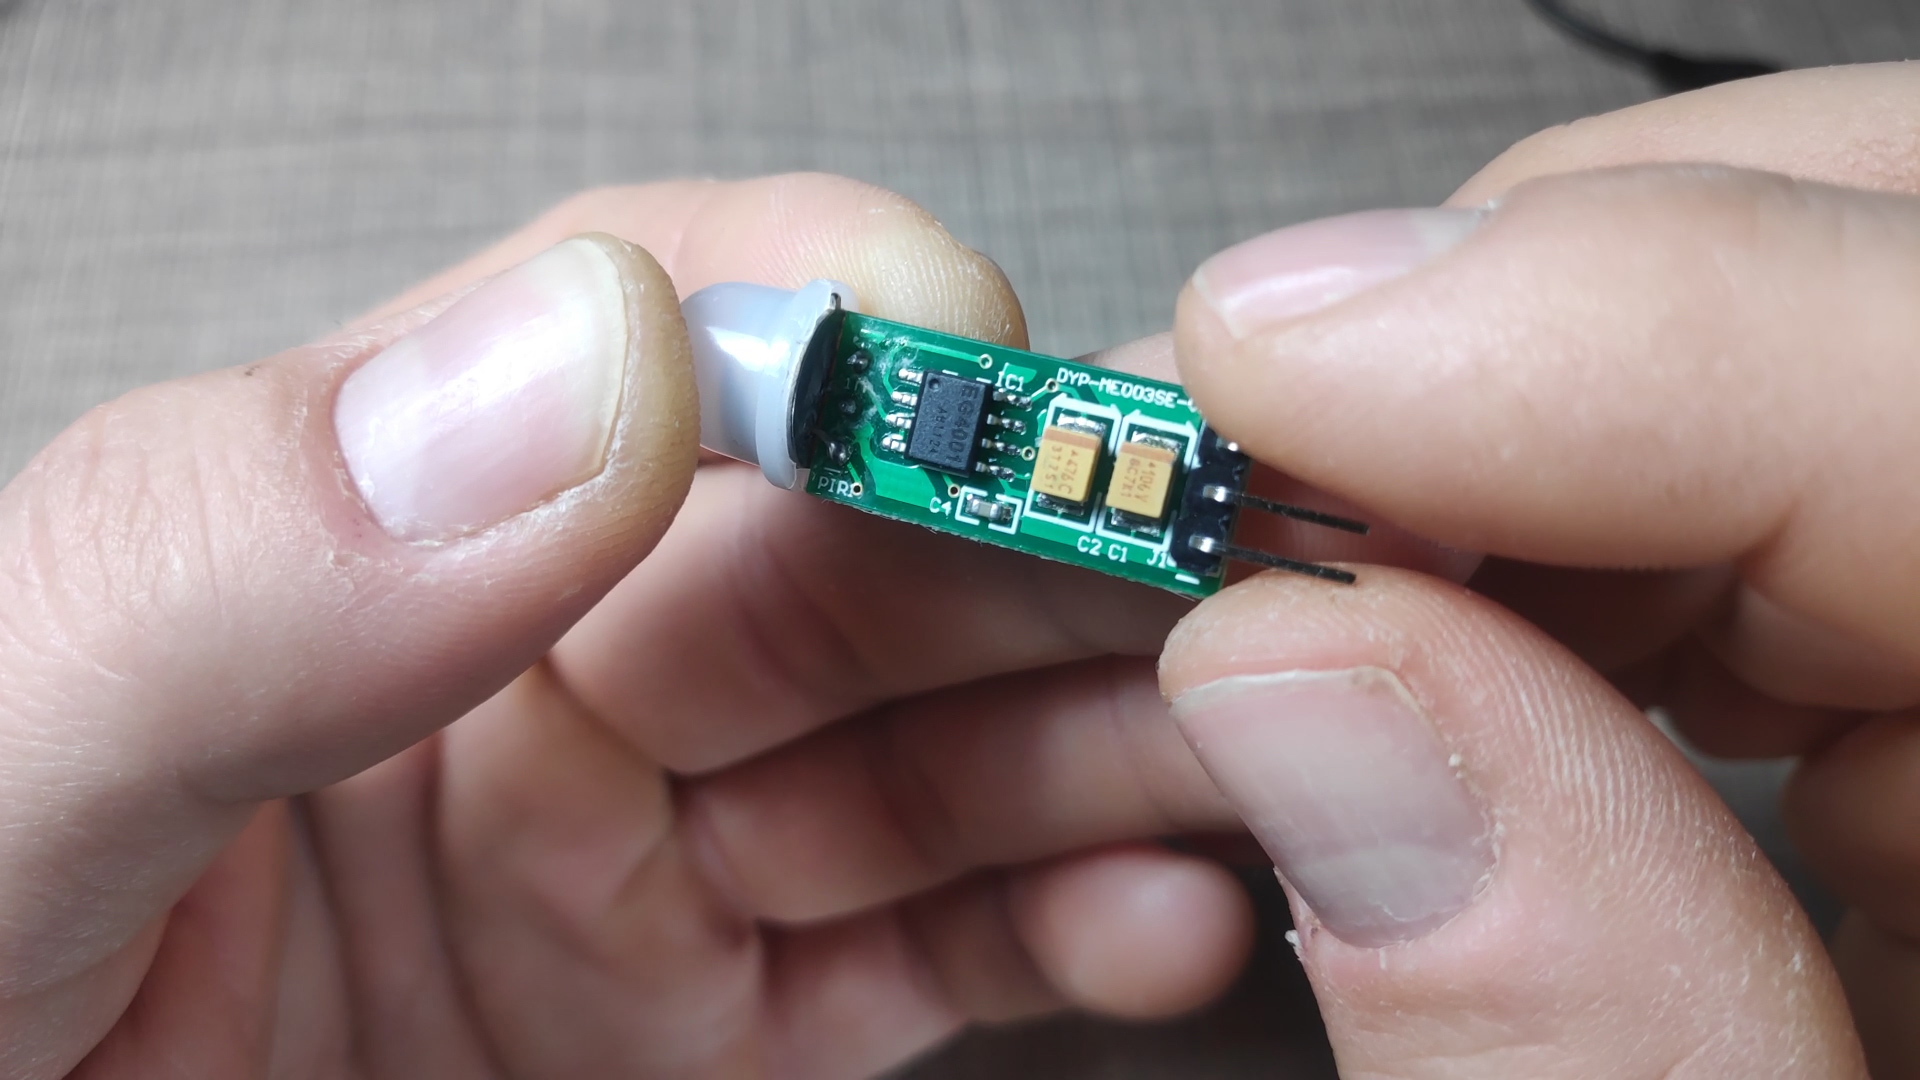
Mini PIR sensor module with EG4001 chip
Another way of using a PIR sensor is by using one of these smaller mini PIR modules that are usually controlled by the EG4001 IC. Again this is another chip that is specifically designed for use with motion sensors but now, the input voltage range is only from 2.3V up to 6V.
The module works almost exactly like the other module we just saw but it lacks the ability to control the sensitivity or the time that they are on when triggered. There are no trimmer pods on board, but if you modify its circuit you can still change them. However, in this case the module is much more suitable for use with a microcontroller if we want to react differently on the input signal.
The module can be used directly, without a microcontroller as in the example circuit below, where the LED is turned on directly from the output of the module. This board also has a 3.3V regulator so the output is always at 3.3V in order to be compatible with multiple boards.
Mini PIR module used without microcontroller
The module is significantly smaller than the other one so it can be more useful with an Arduino even if the project needs to have a minimal footprint.
When used with Arduino in their module form, they both can be connected to a digital input pin and handled in code exactly like a push button that is connected high when pressed.
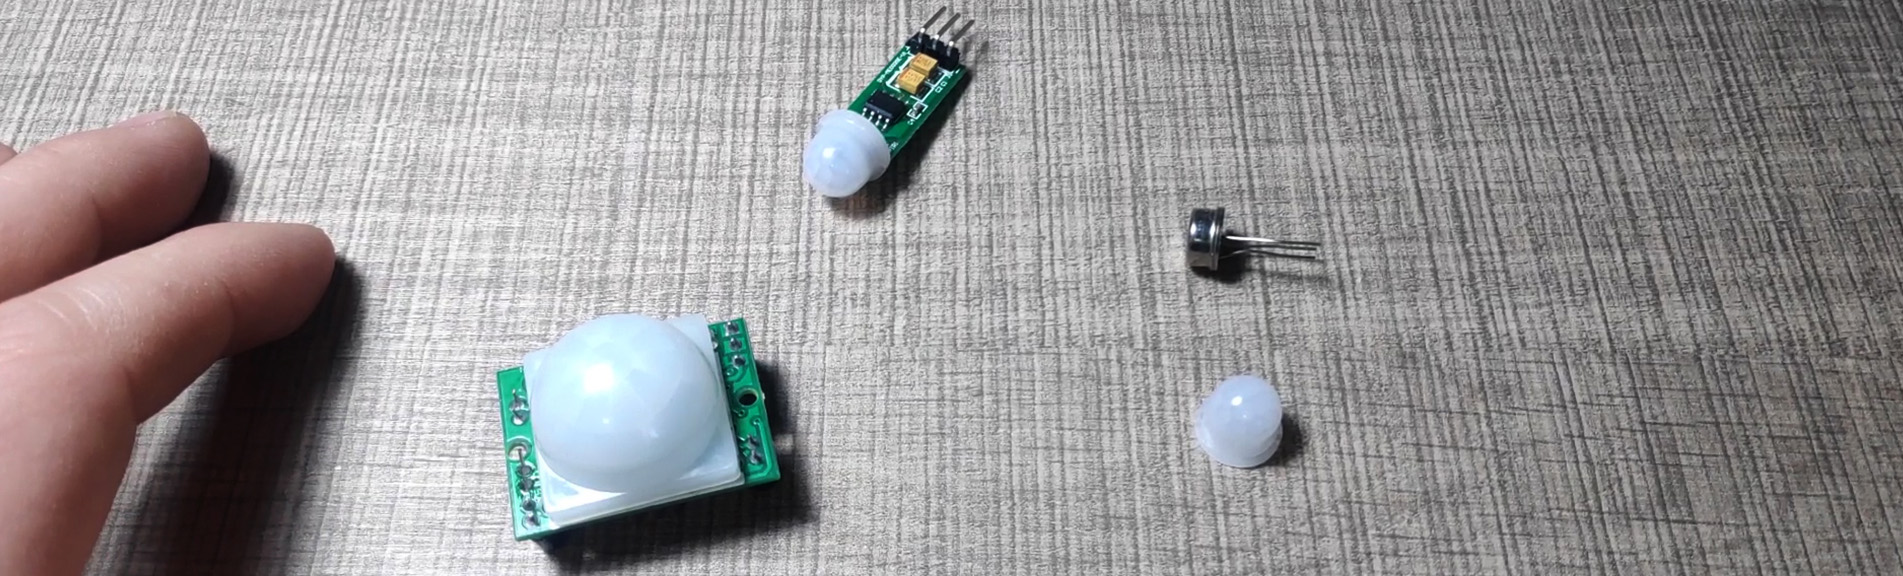
At the heart of both of the modules, we saw already, is the pyroelectric element and a Fresnel lens that goes on top. When ordered online, these two individually cost a fraction of the price of the modules and we can order them in a magnitude of 10s for the price of a single module.
This got me interested so I ordered some to experiment and see if I can use them directly without the specialized chips and extra electronics.
In projects where we know that we will use an Arduino, it makes sense to look into using the sensor directly in its bare form so we can more easily control the placement of it and also reduce the cost of the project.
The sensor has three pins labeled drain, source, and ground. They are identified by a metal tab that is on one side when looking at the sensor from the bottom where the drain pin is right next to the tab, the source is next in the middle and last on the opposite side is the ground pin that is also connected to the outer case.
Since we really don’t know what the output of the bare sensor is, in order to investigate, we will use the Arduino and a simple sketch to visually see the output as a very crude oscilloscope.
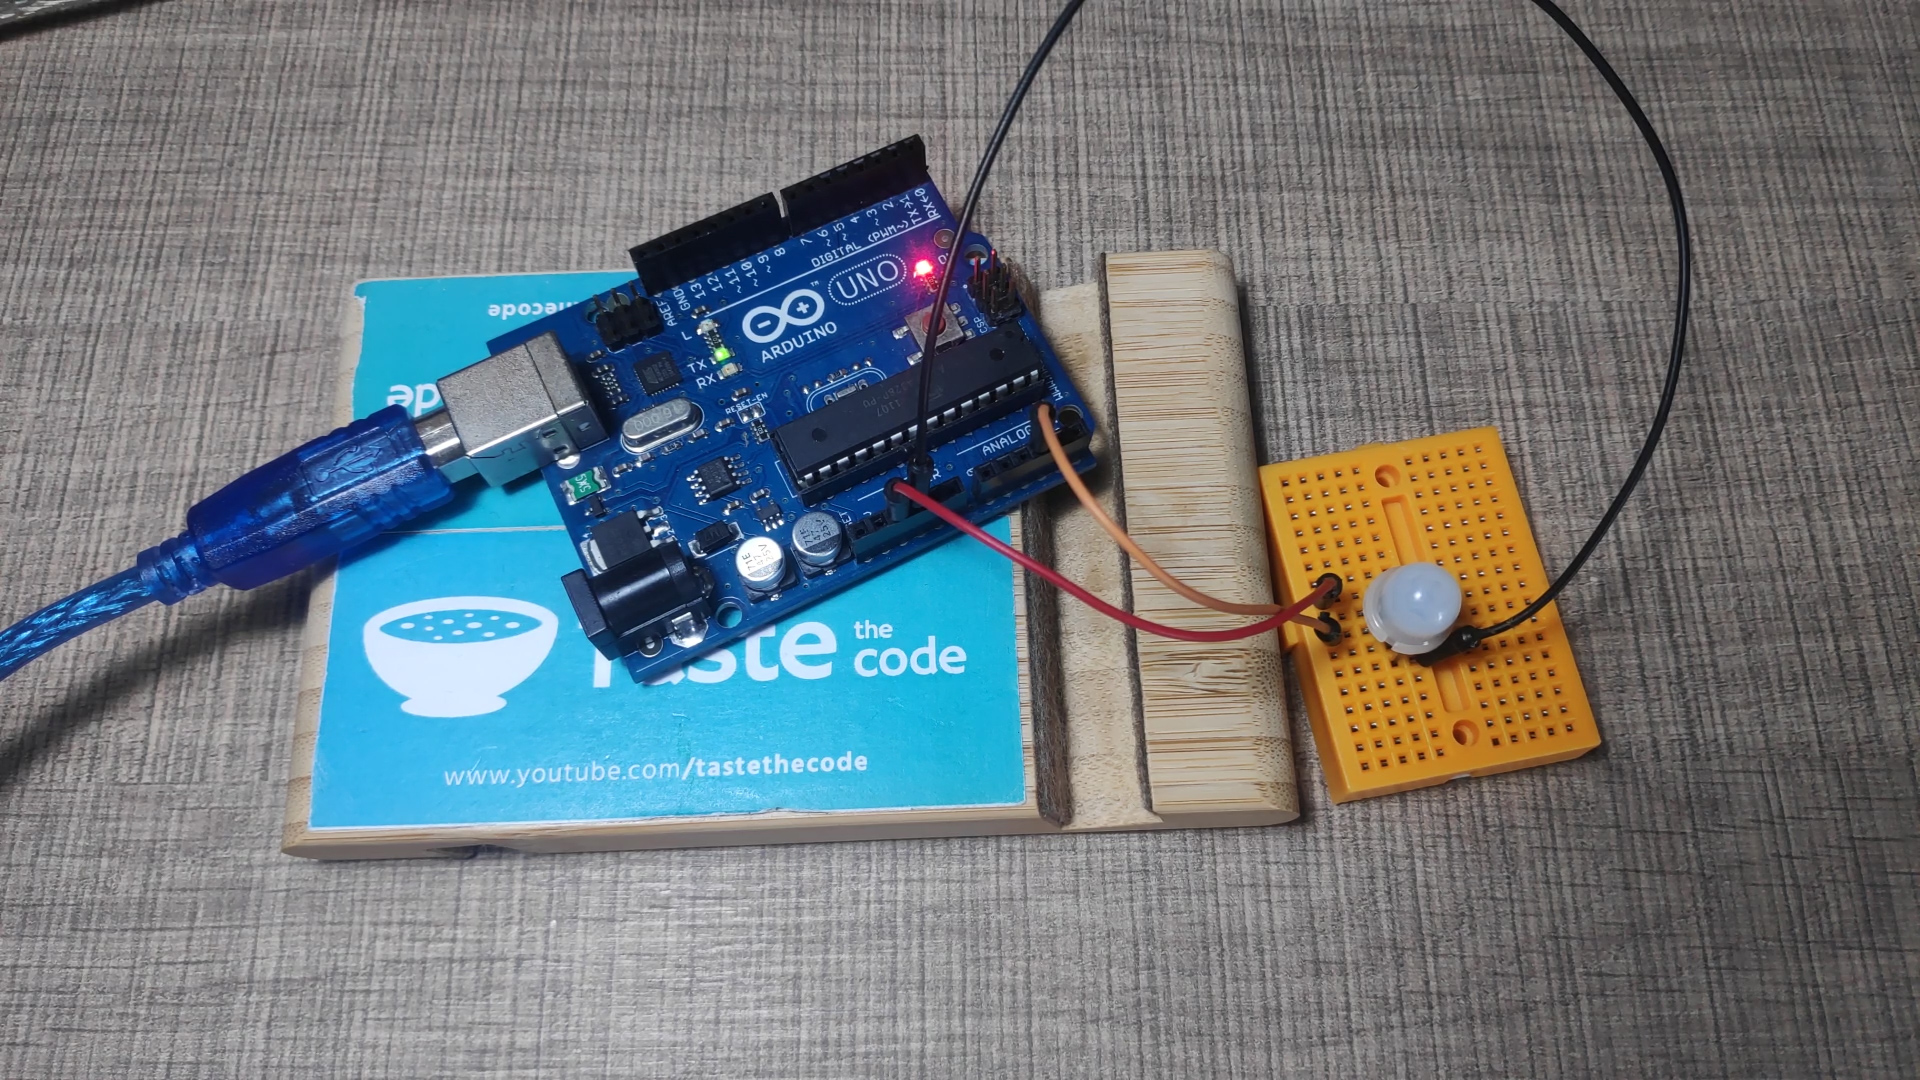
Wiring the PIR element to Arduino
The drain pin is connected to 5V output on the Arduino and the ground pin is connected to ground. The source pin is connected to analog input 3 to measure the output and what the sketch does it reading the analog value from the pin and directly outputs it to the serial plotter in the Arduino IDE.
Here we can observe the signal and we can see that it is oscillating between 720 and 820 while just sitting with no movement and the same pattern repeats.
When I bring my hand over the sensor, the amplitude of the signal changes and this got me excited as that is something that we can detect with code and react accordingly. Maybe we don’t really need that extra circuitry after all?
To verify my hypothesis, I repeated the experiment several times waving at the sensor from different distances, and to my surprise, nothing was detected. It looked like that signal change was only happening, or at least was sensitive enough from close distances.
I repeatedly tried the setup over the course of a few days with different configurations, simple amplifier circuits but nothing seemed to work. The signal was only changing when I brought my hand very close to the sensor.
The interesting discovery came when while having the sensor connected I pushed myself off the desk with both my hands and the signal changed as if I waved in front of the sensor. Obviously, this movement was not in sight of the sensor so something else must have caused it.
I’m not really sure what exactly is happening but to verify my theory that it is not the movement that is being detected, I made a small paper cover for the PIR sensor and placed it on top.
Still with the cover on top, whenever I waved my hand over it, the signal amplitude changes so the sensor must act as some sort of antenna and picks up a signal from the surrounding. My hand acts as a concentrator of that signal, theoretically still detecting it.
If you guys have any idea of what is going on please let me know down in the comments and I might do a follow-up video if I make another discovery.
As for the sensor, the conclusion is that unless you need to detect a movement that is very close to the sensor, you are better off using the modules instead of the bare element.
In a future video, we will check if we can possibly build a simple amplifier for the sensor with some op-amps, and if you are interested to see that, make sure to subscribe.
Until then, check out some of my other videos and stay safe.


