In this post, I will show you how I build a wire loop buzzer game for my kids.
The wire loop game is made with an open circuit wire loop, that is connected to a buzzer. The wire has a ring around it and it is connected in such a way that if they touch, the buzzer will sound.
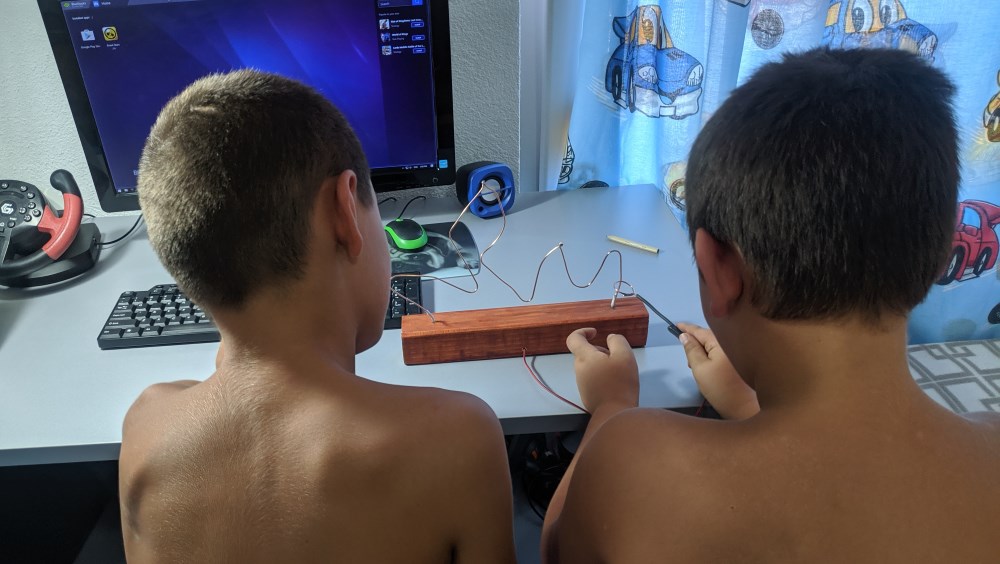
My son and his friend playing the wire loop game
The enclosure can be done from any material that you have laying around. I happened to have this piece of wood so I decided to use that. To make enough space on the inside to house the buzzer and the battery, I’ve used a Forstner bit to hollow out some of the material. This does not need to be perfect as it will never be seen on the bottom side.
Once the bulk of the material was removed, I’ve used a chisel to remove the remaining bit and I’ve spaced part of the hole to fit the 9V battery perfectly so I would not need to make any additional mechanisms to hold it in place.
To mount the wire that will be the maze of the game, I drilled two holes on the top that are 4cm apart from the ends. Also, I drilled one additional hole on the bottom part in the middle of the side of the wood pieces. This hole will later be used to pass the probe wire with the buzzer.
With the enclosure ready, I moved to my electronics workbench, where I first soldered together three pieces of scrap electrical wire to give them enough length. These soldered joins will also behave as sharp turns in the wire and as additional obstacles.
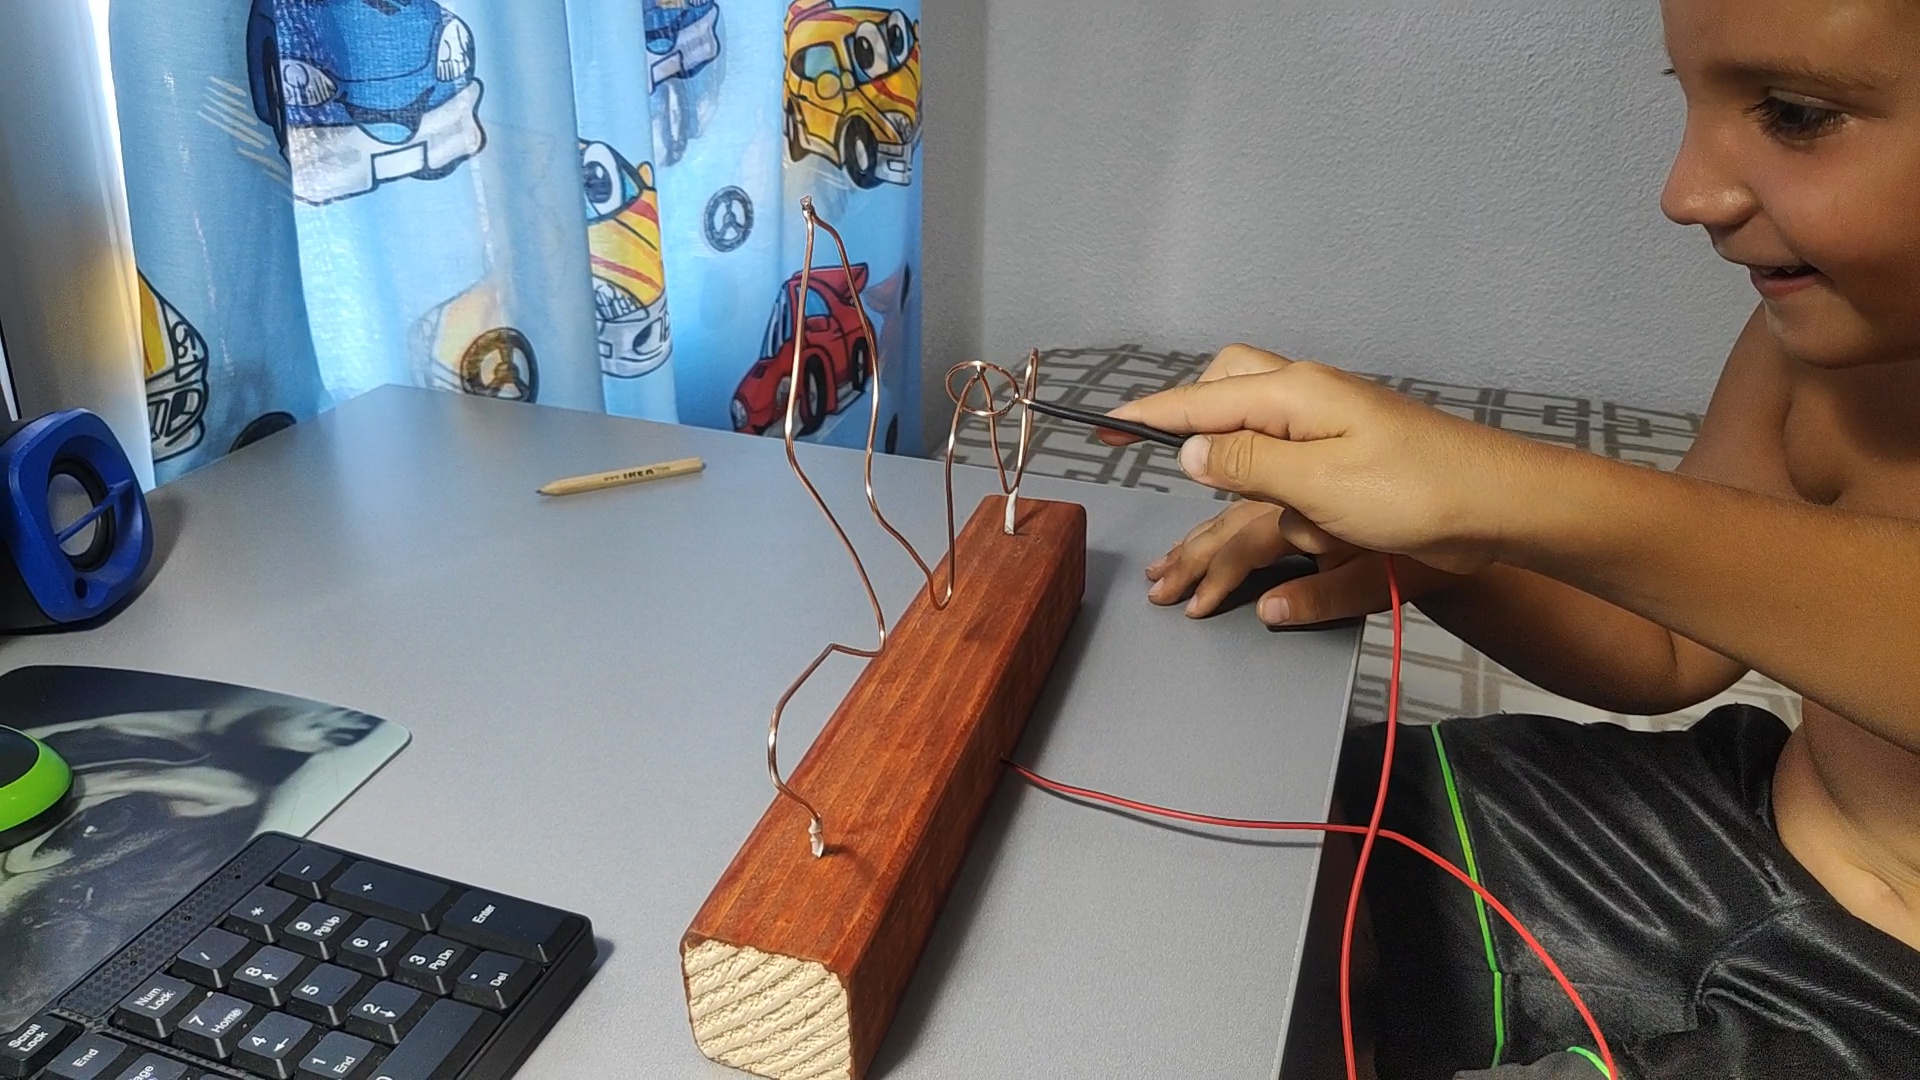
The ends of the wire loop are then threaded through the holes on the top and using a screwdriver, a small loop is created at the ends of it. This will be used to fasten the wire to the wood and make the electrical connections.
The negative pole of the 9V battery connector is connected to one side of the wire loop, while the positive is connected to the positive side of the buzzer. Then, a wire is threaded through the hole on the side and it is connected to the negative side of the buzzer.
To make everything neat, I’ve added some hot glue in the bottom to hold the buzzer and the wires and once I put the entire game upright, I twisted the copper wire into its final shape for the maze. At its ends, I’ve added two small pieces of electrical tape so the probe does not touch the wire at the beginning and at the end.
To make the probe, I’ve used another piece of electrical copper wire that I’ve stripped part of its insulation. The exposed copper is then formed to a circle and this circle is placed in the wire loop before I soldered it so it can no longer be removed.
At the end of the probe, I’ve connected the wire that comes out from the buzzer so now when the probe touches the loop, the circuit is closed and power can flow through the buzzer.
With that done, it was now time to test it out and hand it over to the kids for them to play. They had a lot of fun with it and I’m sure that they will improve their hand-eye coordination a lot. The entire build took around 2 hours from start to finish and it is a great project that you can do over the weekend.
If you liked this project, then be sure to subscribe to my YouTube channel for more projects and also check out my profile on Instructables.


