
My son is soon starting school so I wanted to build for him, a desk where he can write his homework and additionally it can serve as a platform for his computer. Based on the dimensions of the space, I wanted something that can fit perfectly so a custom build was a must.
Since this had to be cheap and fast to build, I decided on using an off the shelf legs from IKEA with a melamine top. Based on the available selection there at IKEA, the LERBERG system seamed like the perfect option we were looking for so we grabbed two.
The top of the desk is made out of 25mm gray melamine board that should be strong enough to hold its shape without extra support and not sag over time.
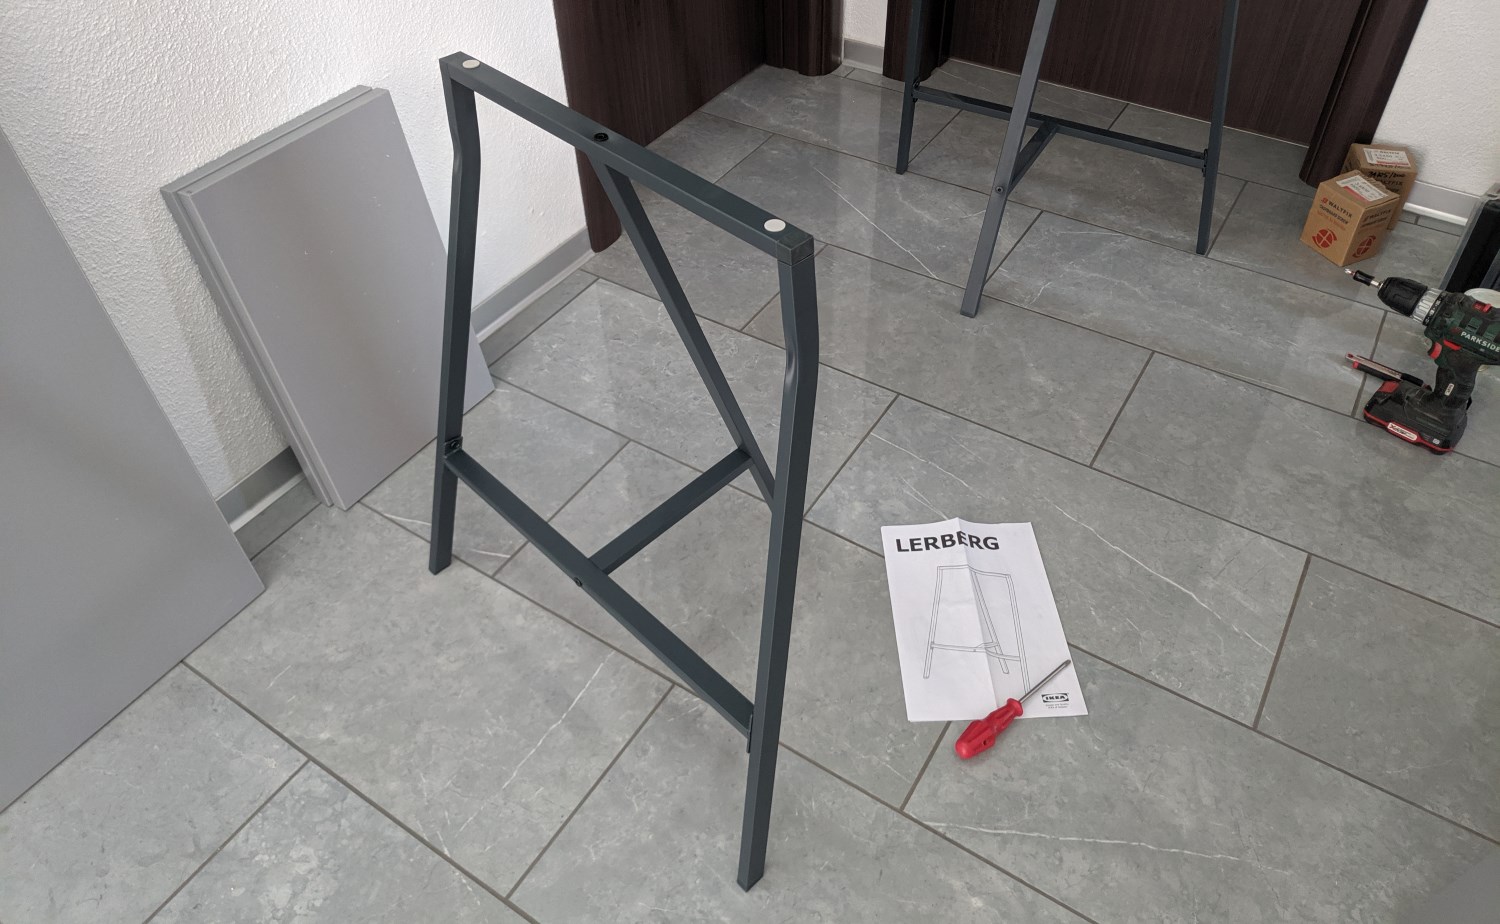
The assembled LERBERG legs
To assemble the desk, I first assembled the legs based on the instructions provided by IKEA. This was quite straight forward task as the entire assembly holds with 5 screws. However, the issue with the legs was that they do not have any mounting holes for the top. I guess their intention is to be used with freestanding or glass tops so they haven’t included any mounting holes.
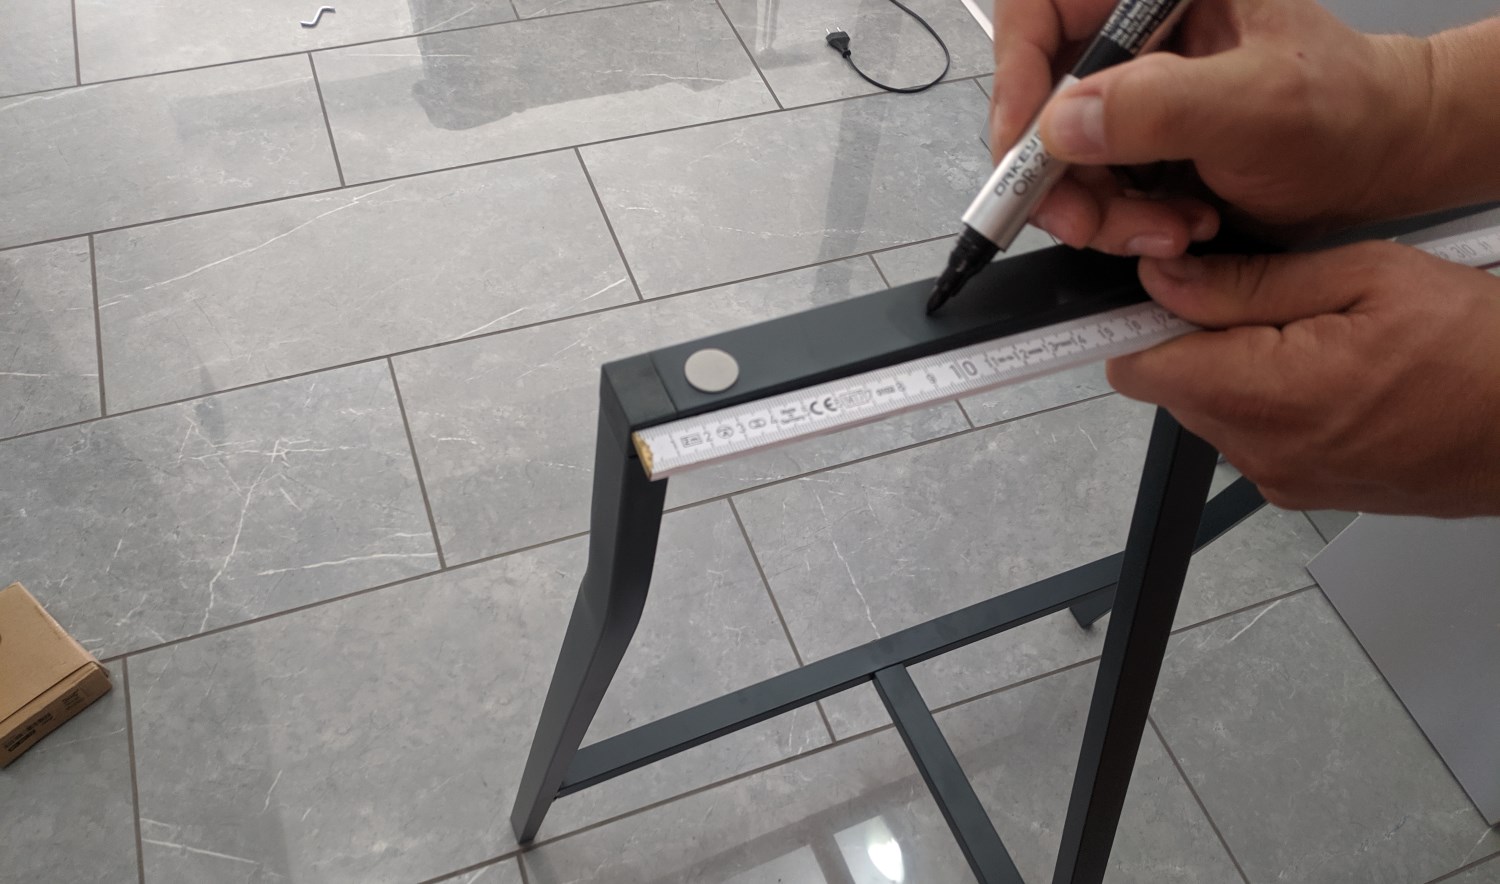
Marking the location for the mounting holes
So I grabbed my drill, and with a 4mm drill bit, I’ve added two holes on the top support bar, 10cm away from the end on both sides. Additionally, since the desk will have two shelves on the bottom where the legs support is, I’ve drilled three holes there to mount the shelves.
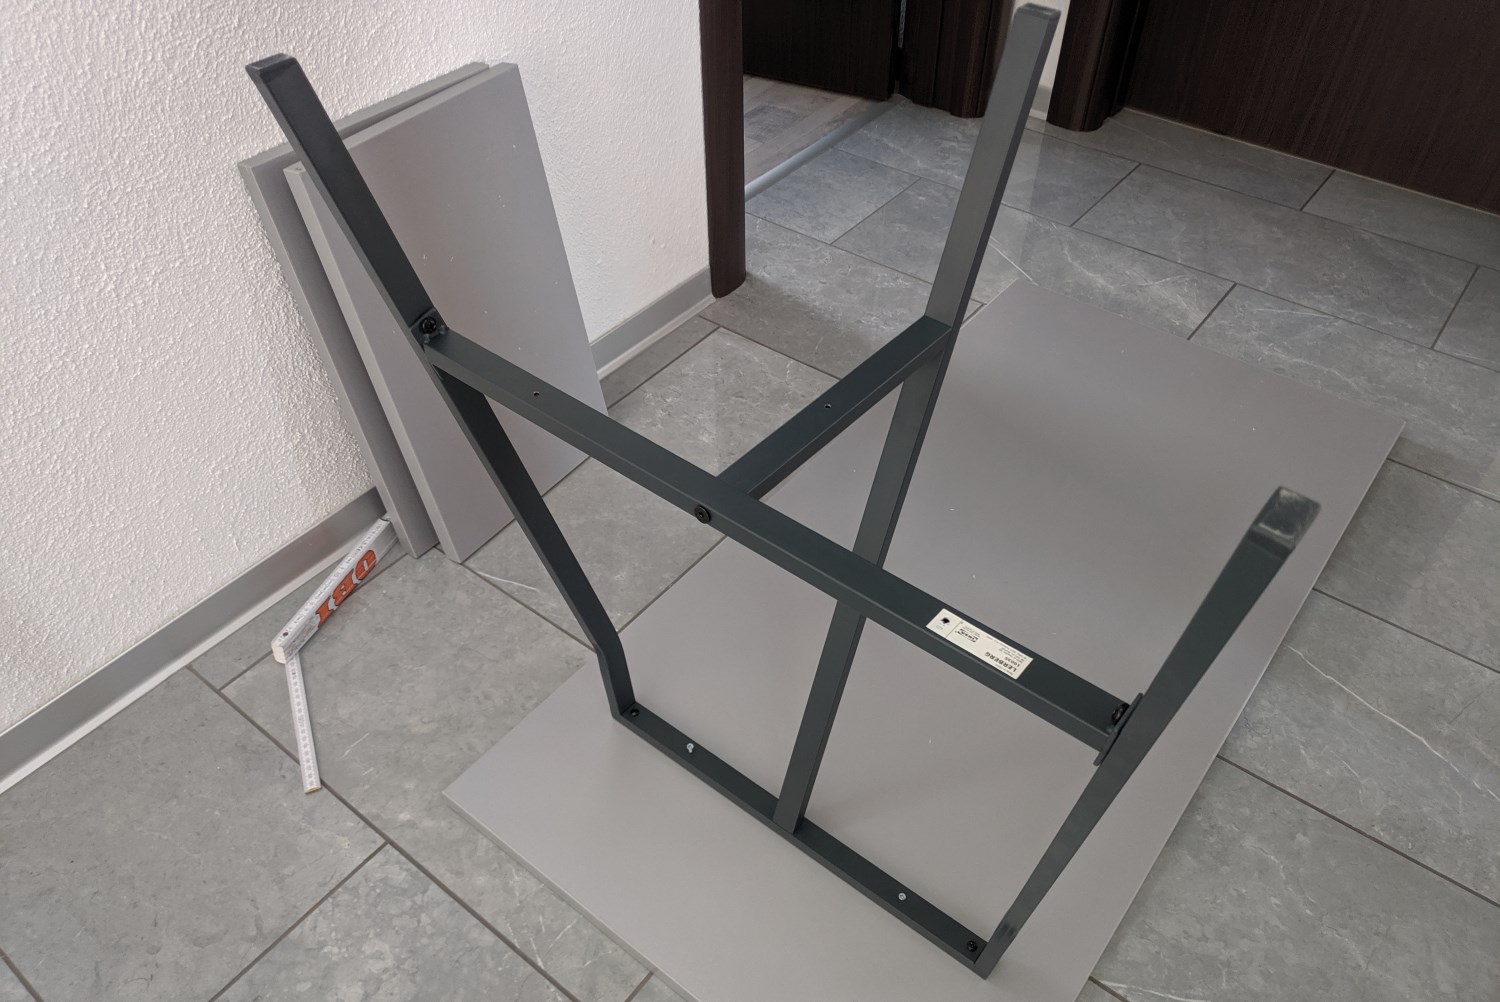
The top is placed on the ground for the legs to be mounted
Once the legs were assembled and drilled, I’ve placed the top on the ground and measured up 17cm from the end of the top to screw the legs. I did this so the legs can sit within the desk footprint and not interfere with any furniture on the side. If you have more space available, they can be added directly to the edge of the top piece, but keep in mind that they will stick out about 15cm.
With the top still upside down, I grabbed a clamp and mounted both of the shelves as well, where the clamp was used as temporary support while I’ve added the screws.
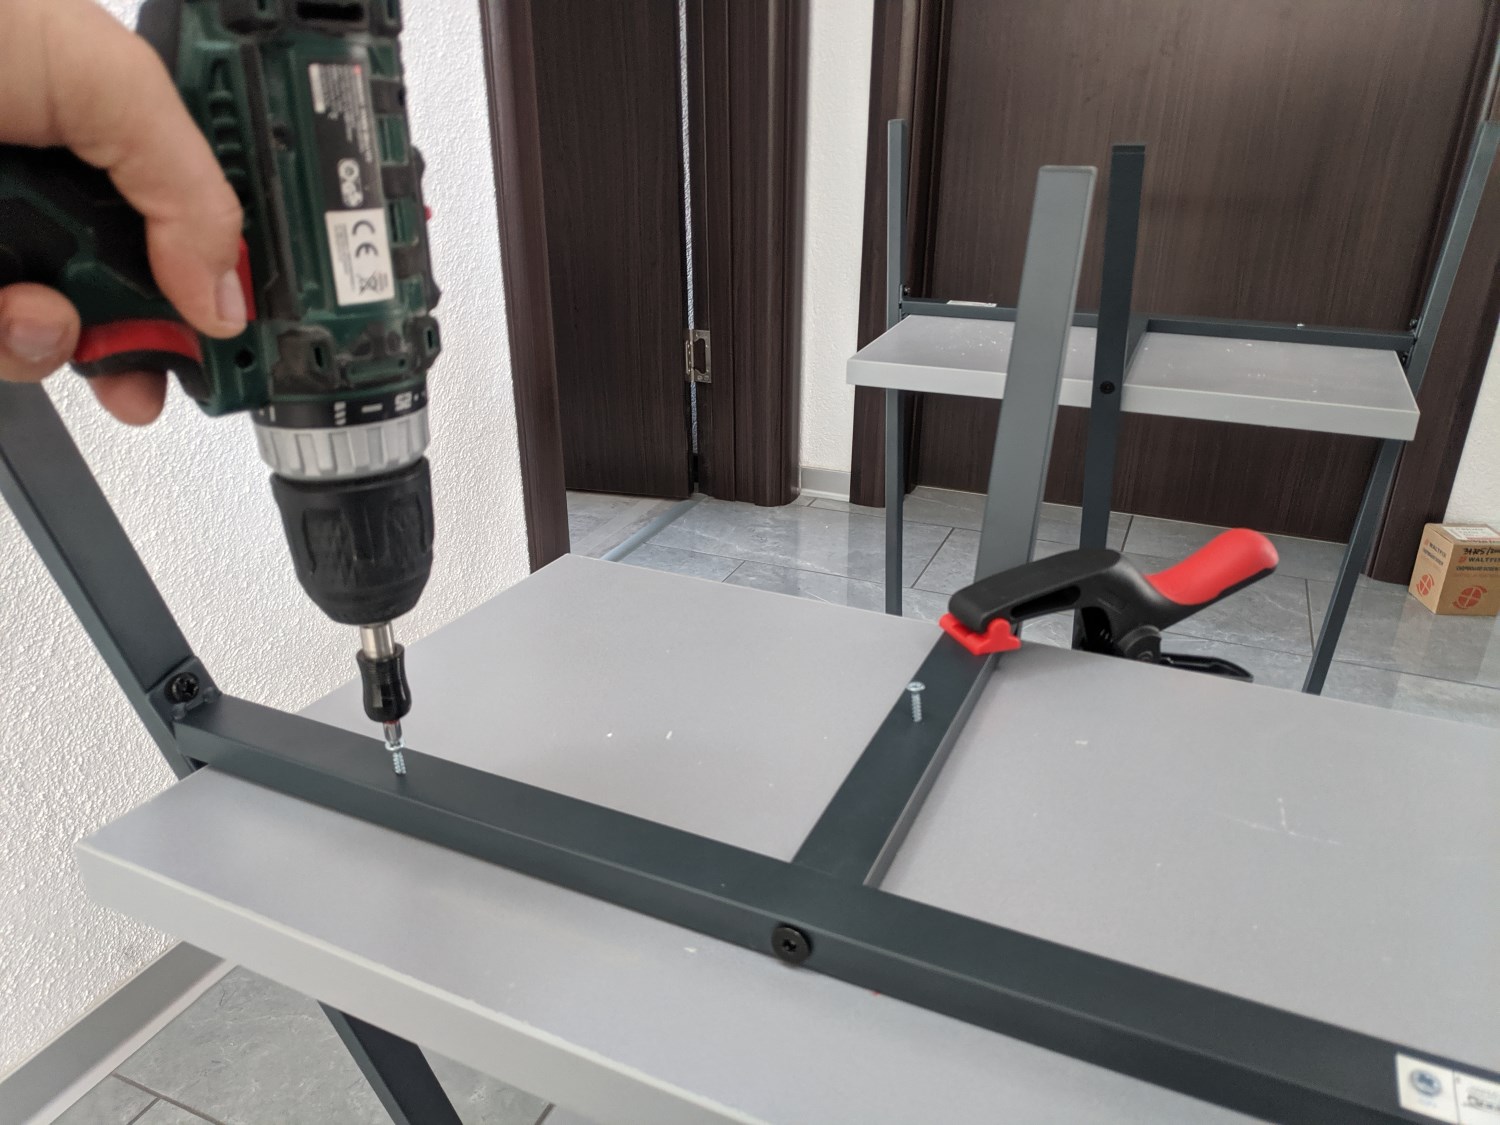
Adding the shelves
So after about half an hour from the start, we had a functional desk and it looks quite nice. The total price got to about 35 EUR which is not bad at all considering that any commercial options were in the upward of 100 EUR.
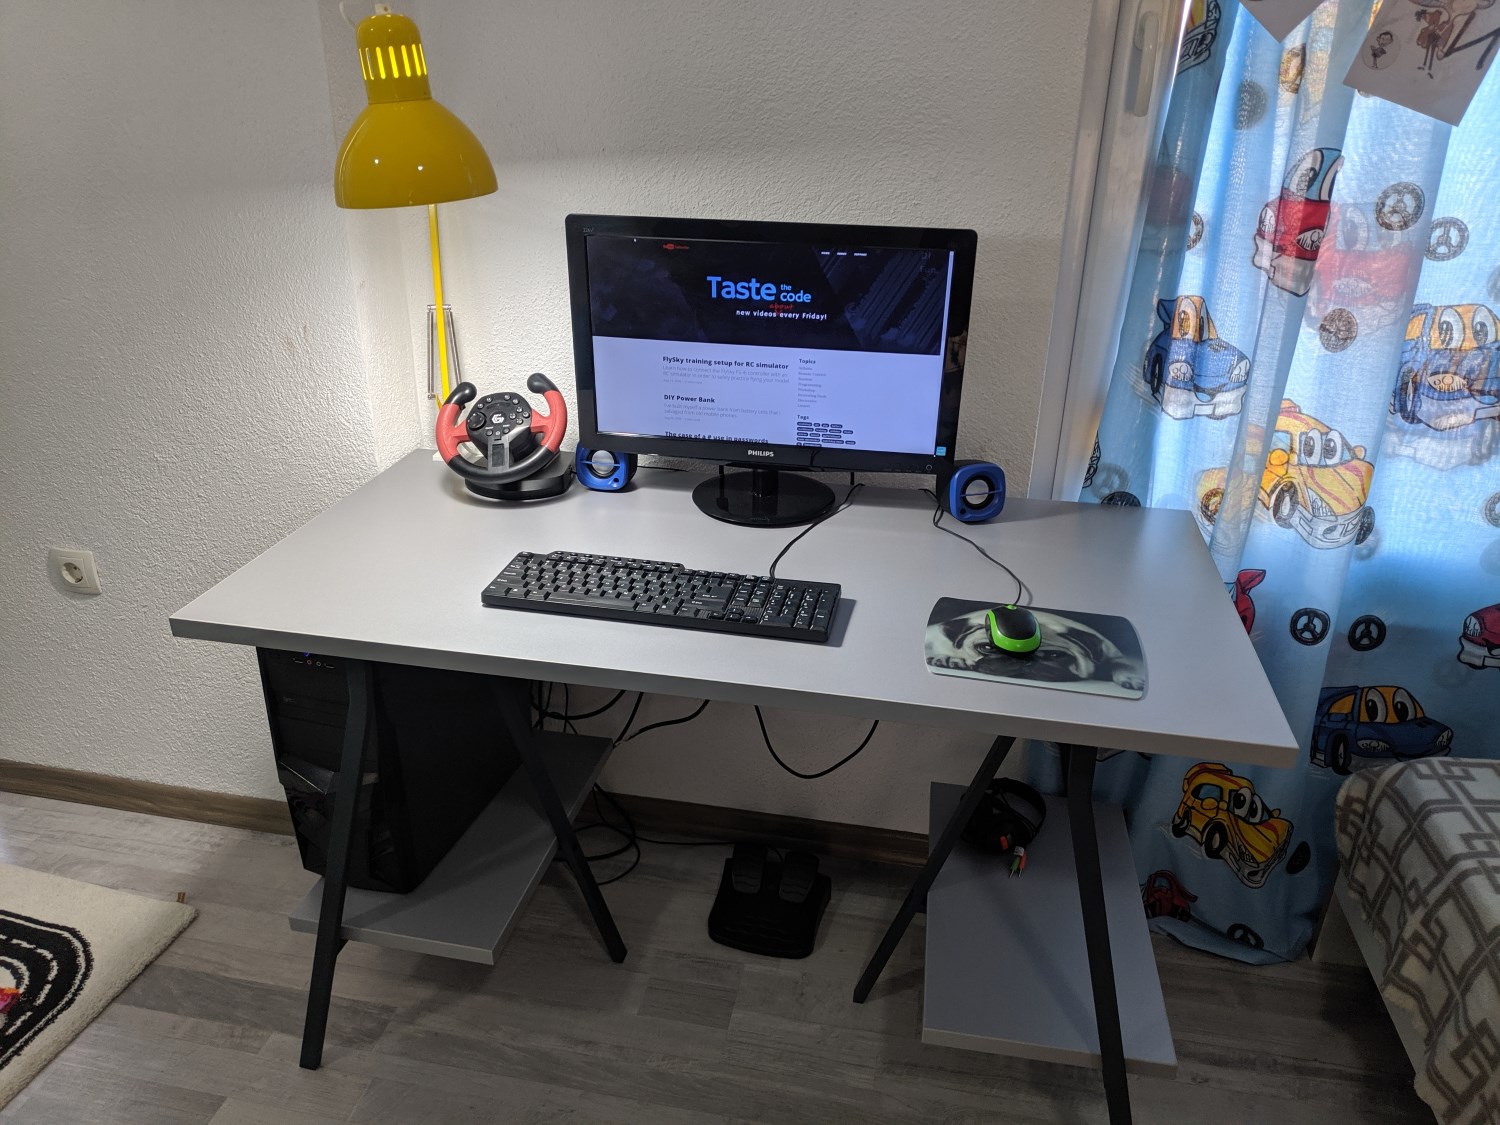
The finished desk


