
I have this battery-operated hand torch that I keep in my house for various tasks and I have a few problems with it that I'll try to solve today.
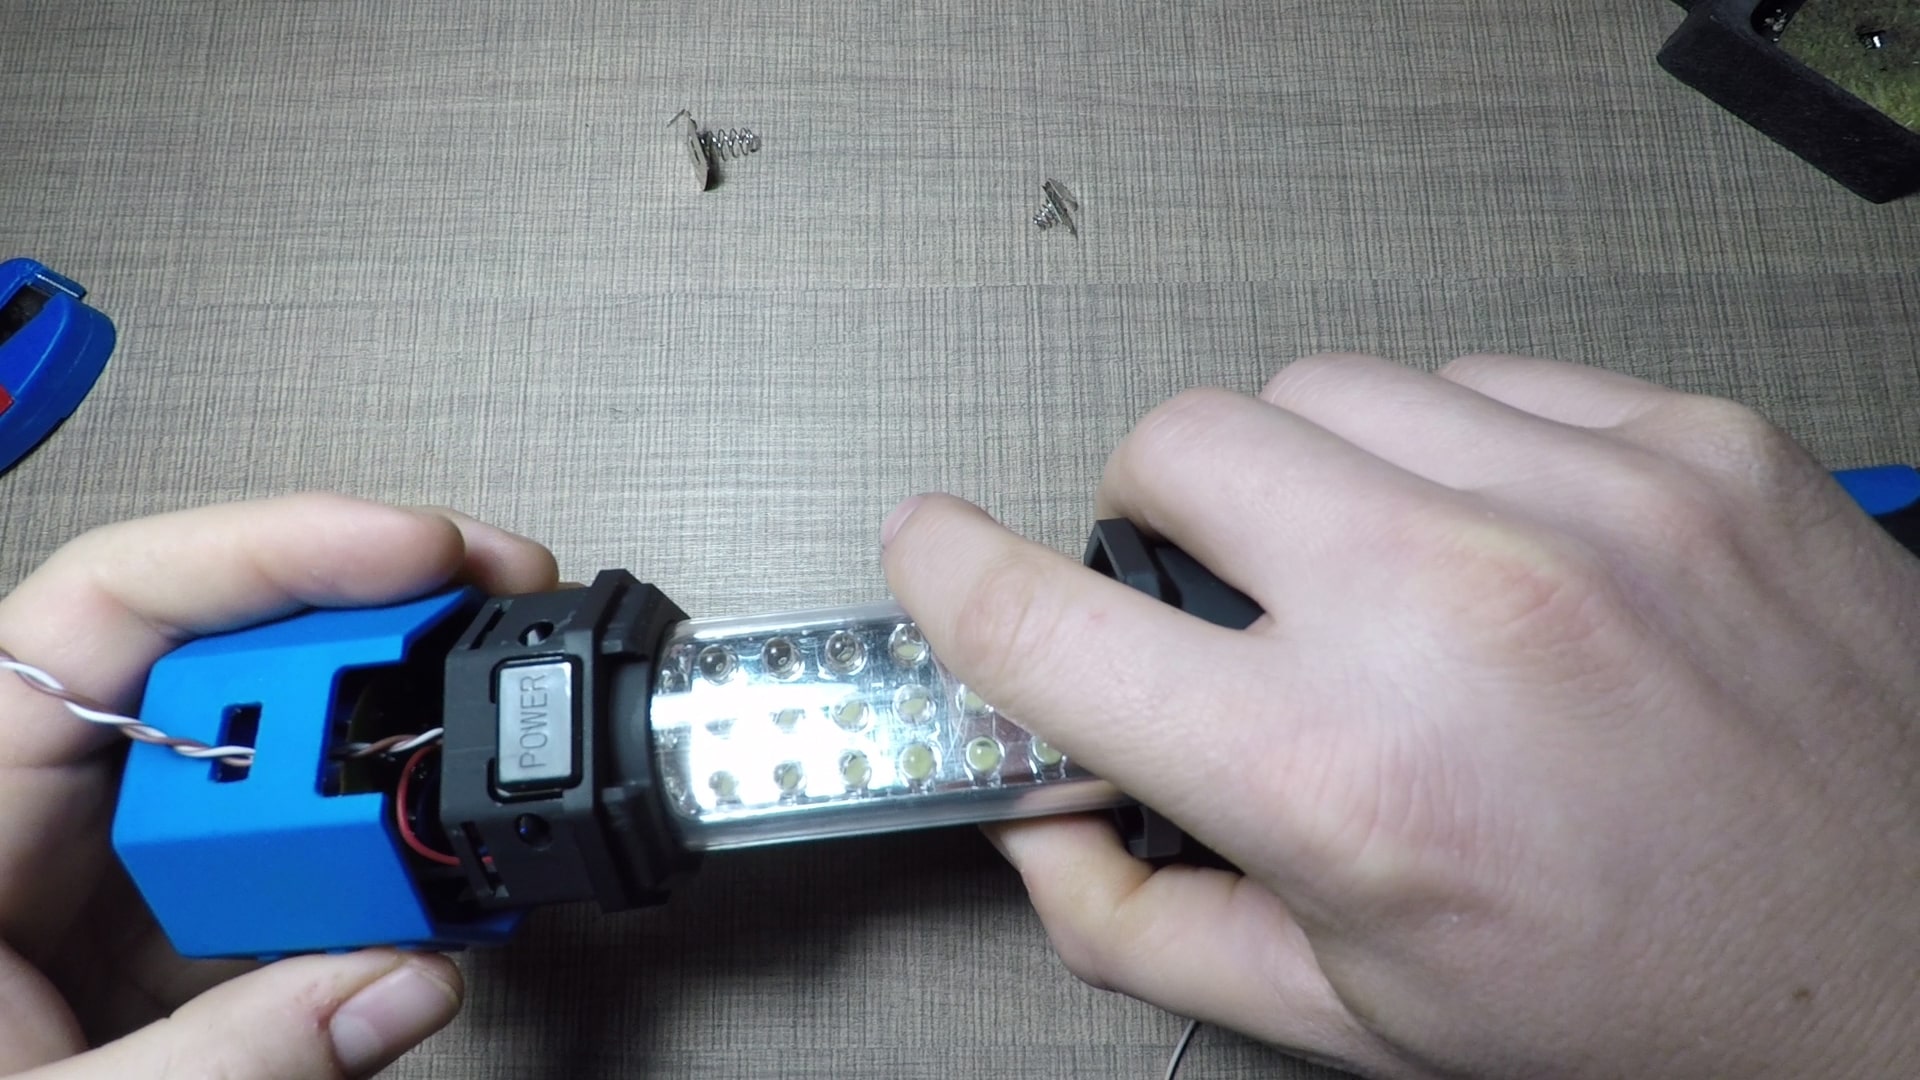
The torch itself is very nice, it has nice focused light at the front, and a work light on the side. It can be mounted to a metal surface with the magnet on the bottom and it can also be hung from above if needed.
If video is your thing then check out the entire process below:
What problems do I try to solve on the flashlight?
So the first problem that I have with it is the fact that this torch works on 3 AA batteries and any time that I need it, it is most certainly empty and I don't have replacement cells. I have few rechargeable AA batteries but they are a bit too wide to fit into the slot.
Problem number two is that once the AA batteries start to run out and their voltage decreases, the light starts to get dimmer and dimmer to a point that it is barely usable. Inside there are no electronics to increase the voltage that gets to the LEDs so as the battery voltage decreases, they get dimmer.
And finally, the bottom hatch that closes the batteries inside has a terrible contact that very often flickers the light to a point that I sometimes give up on using it.
So to solve all of these, I'll be installing a salvaged lithium-ion battery inside the torch, so that it can be charged through USB with a TP4056 module, I'll make sure to solder all of the contacts inside so that there is no bad connection anymore and finally, I'll add an MT3608 step-up boost converter to the output so the LEDs are constantly lit with 4.5V as if they are connected to fresh AA batteries
Torch construction and disassembly
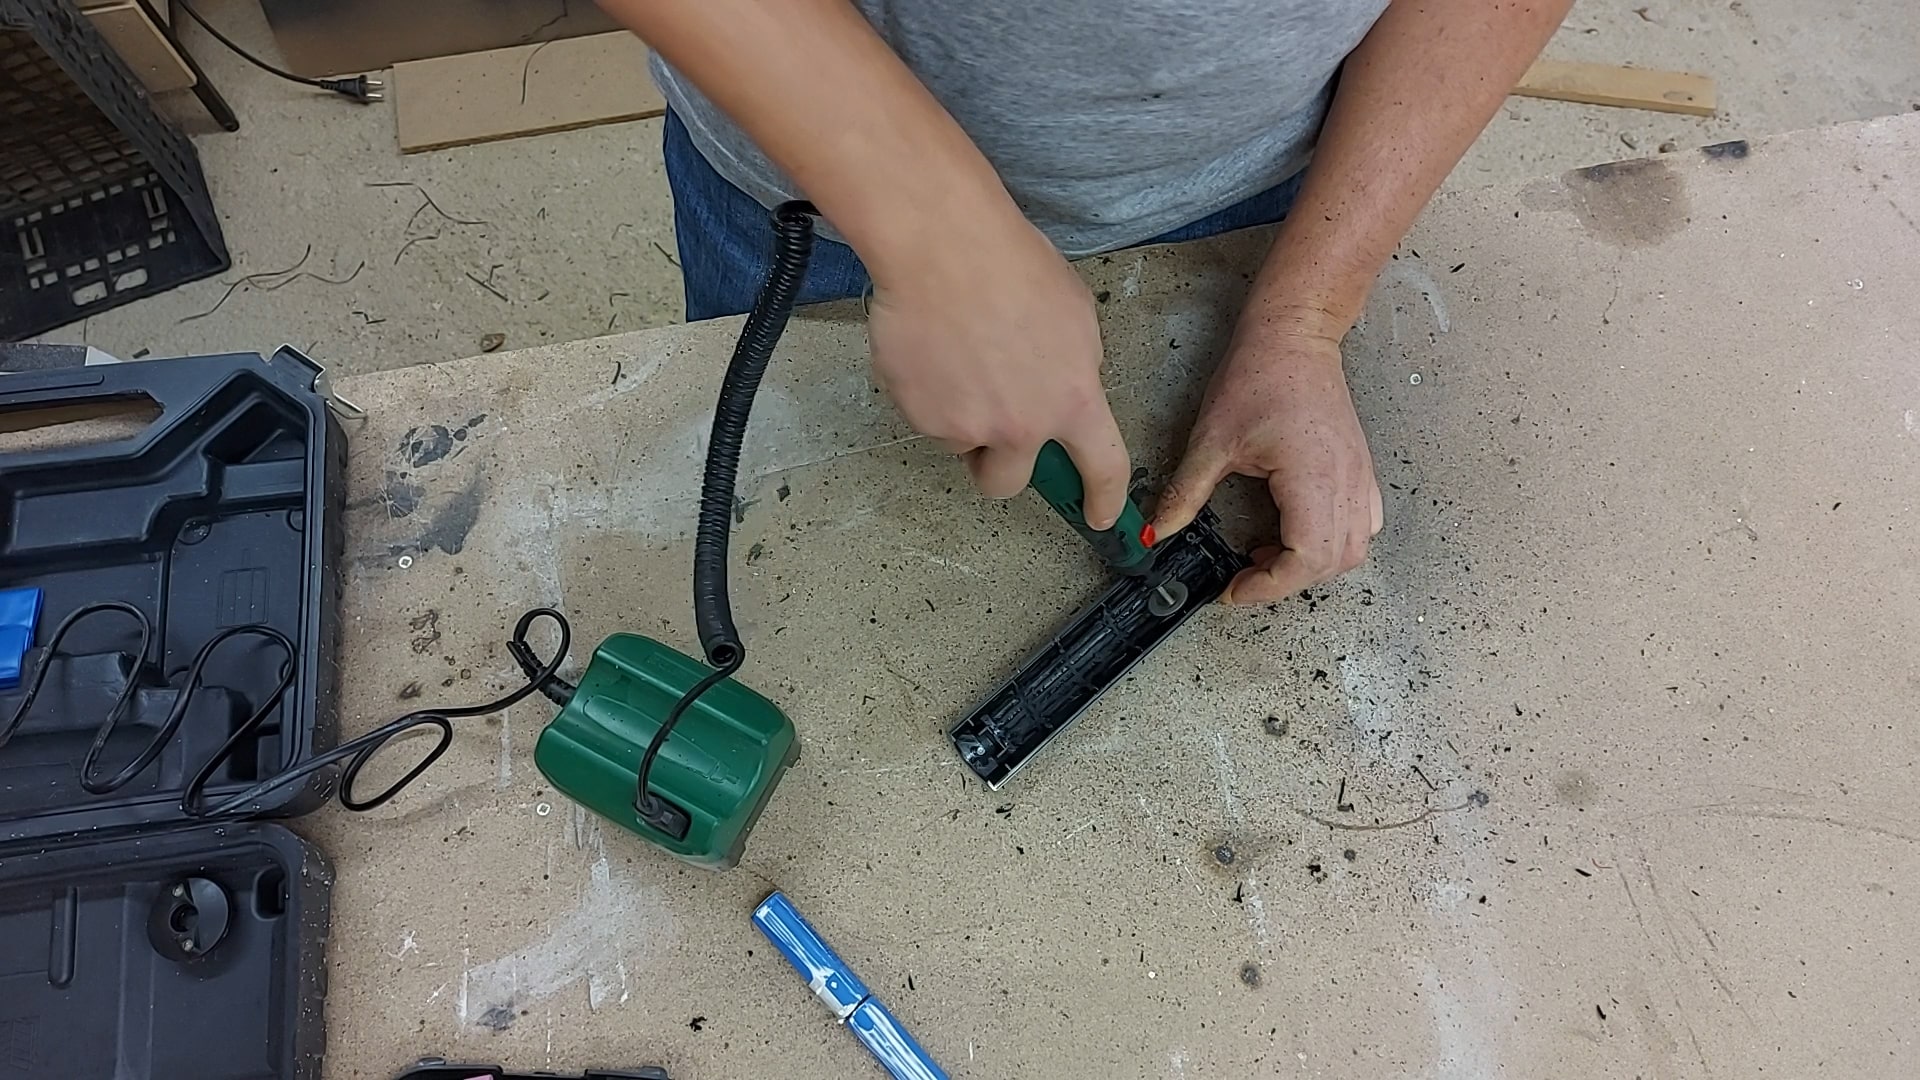
To start disassembly, there is a screw behind the hook that I first removed and I then used a small knife and a screwdriver to pry open the top plastic cover.
Removing the top pieces to get access to the screws behind.
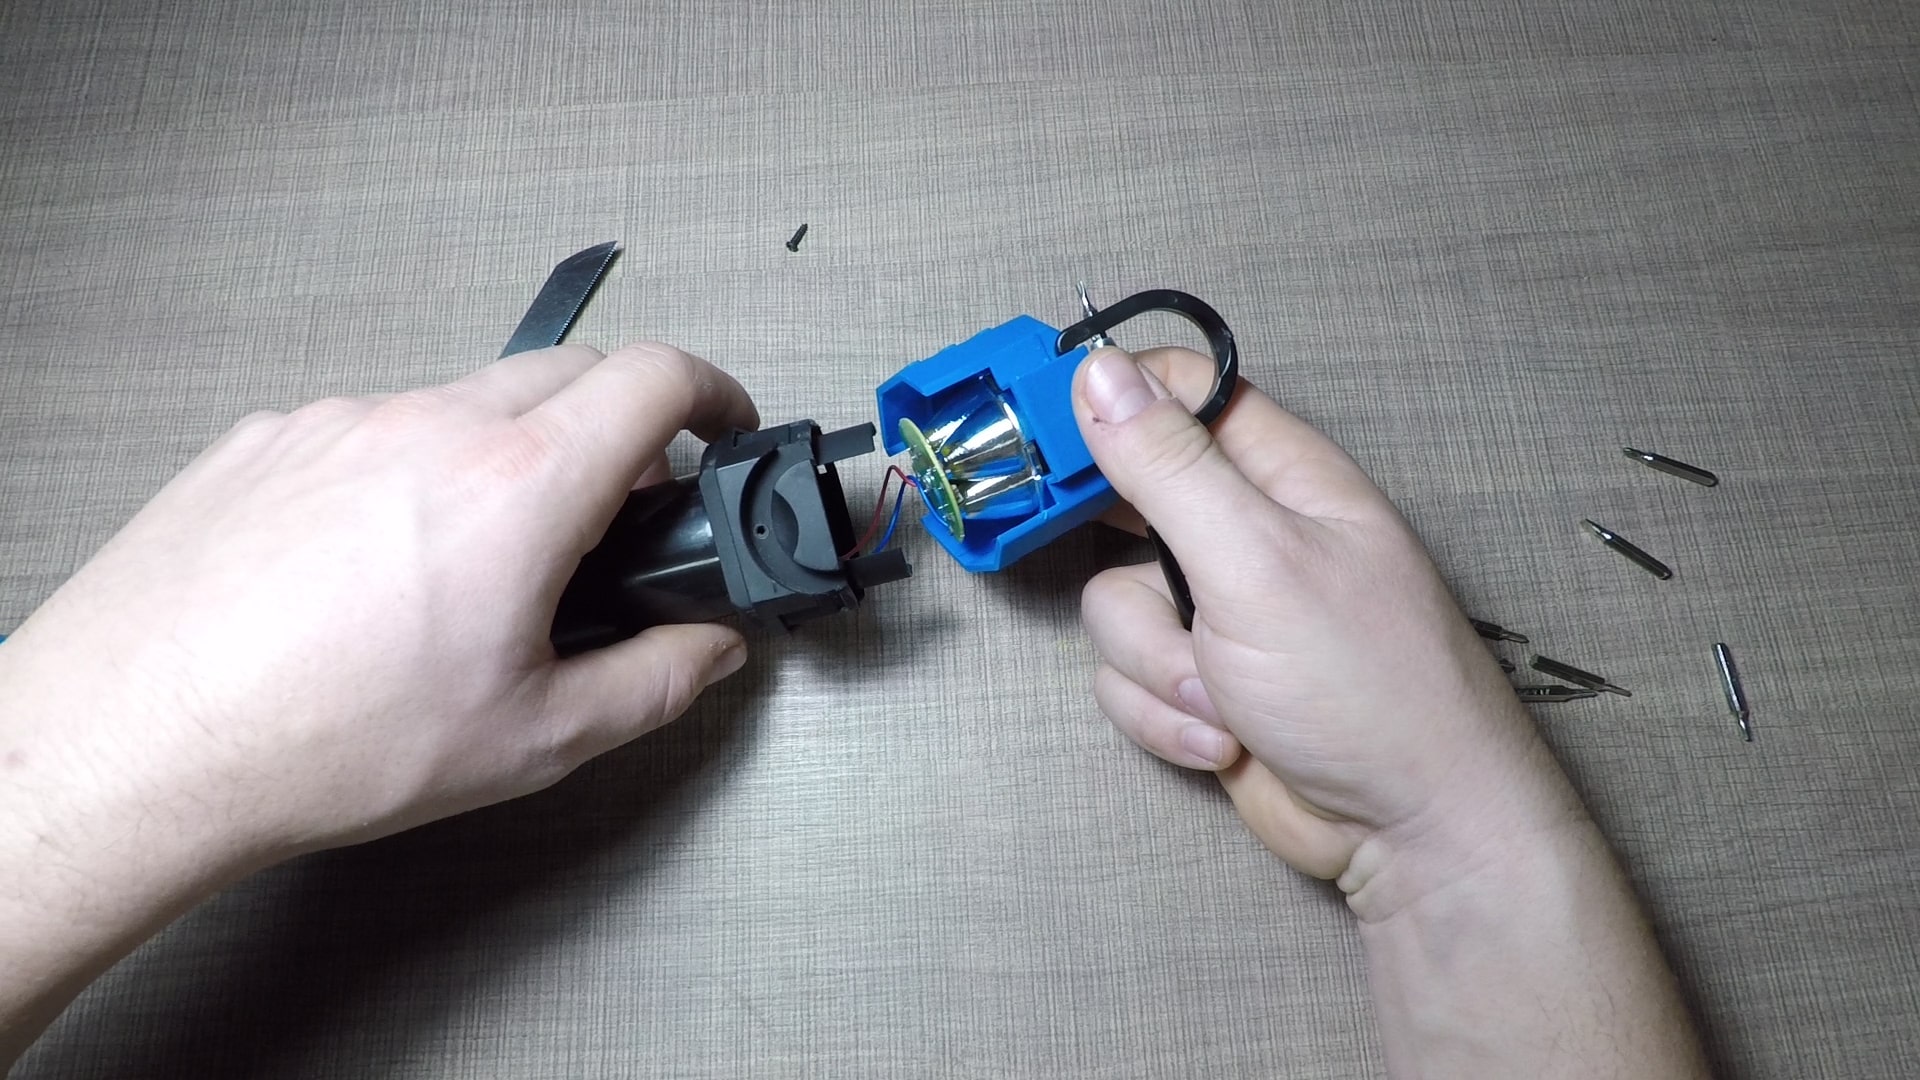
This exposed the front LEDs and the reflector for them, but it also exposed two more screws that attached the front of the torch with the sliding centerpiece.
Once they were removed, I could slide the centerpiece back to remove it from the outside cover.
By removing two more screws, I was able to completely separate the centerpiece and gain access to the cavity inside, where the batteries are placed.
Making space for the lithium cells
The batteries that I want to use for the torch are removed from an old laptop battery and they came in packs of two parallel 18650 cells.
I wanted to use both of them so I can get a lot more use time out of the torch, so I started removing pieces of the support plastic where the AA cells used to live.
I started this by first using my snips but I quickly realized that I'll need a lot more space inside so I moved to use my rotary tool with a diamond disk to grind off the plastic bit by bit.
Removing the inside plastic to make room for the 18650 cells
Eventually, I ended up removing the support rails completely to the outer shell and this made enough clearance for the 18650 cells to sit flush with the half.
At this point, I also realized that fitting two cells as I originally planned, together with the two modules for the charging and the stepping up of the voltage will be almost impossible so I continued with using just one of the cells.
Install the electronics
While grinding the support rails, I've also made a small notch close to where the access hatch is on the bottom of the torch and I've installed it inside the TP4056 charger board for the lithium cell. This board has built-in overcharge and over-discharge protections for the cell so I can safely charge and discharge the battery inside through USB.
The board has 4 connections, where, on the ones marked as B+ and B-, I've soldered the appropriate battery contacts.
The other two contacts, OUT+ and OUT- are soldered to the step-up board where I've soldered OUT+ to the VIN+, and I've added two pieces of longer wires to the OUT- and VIN- pads.
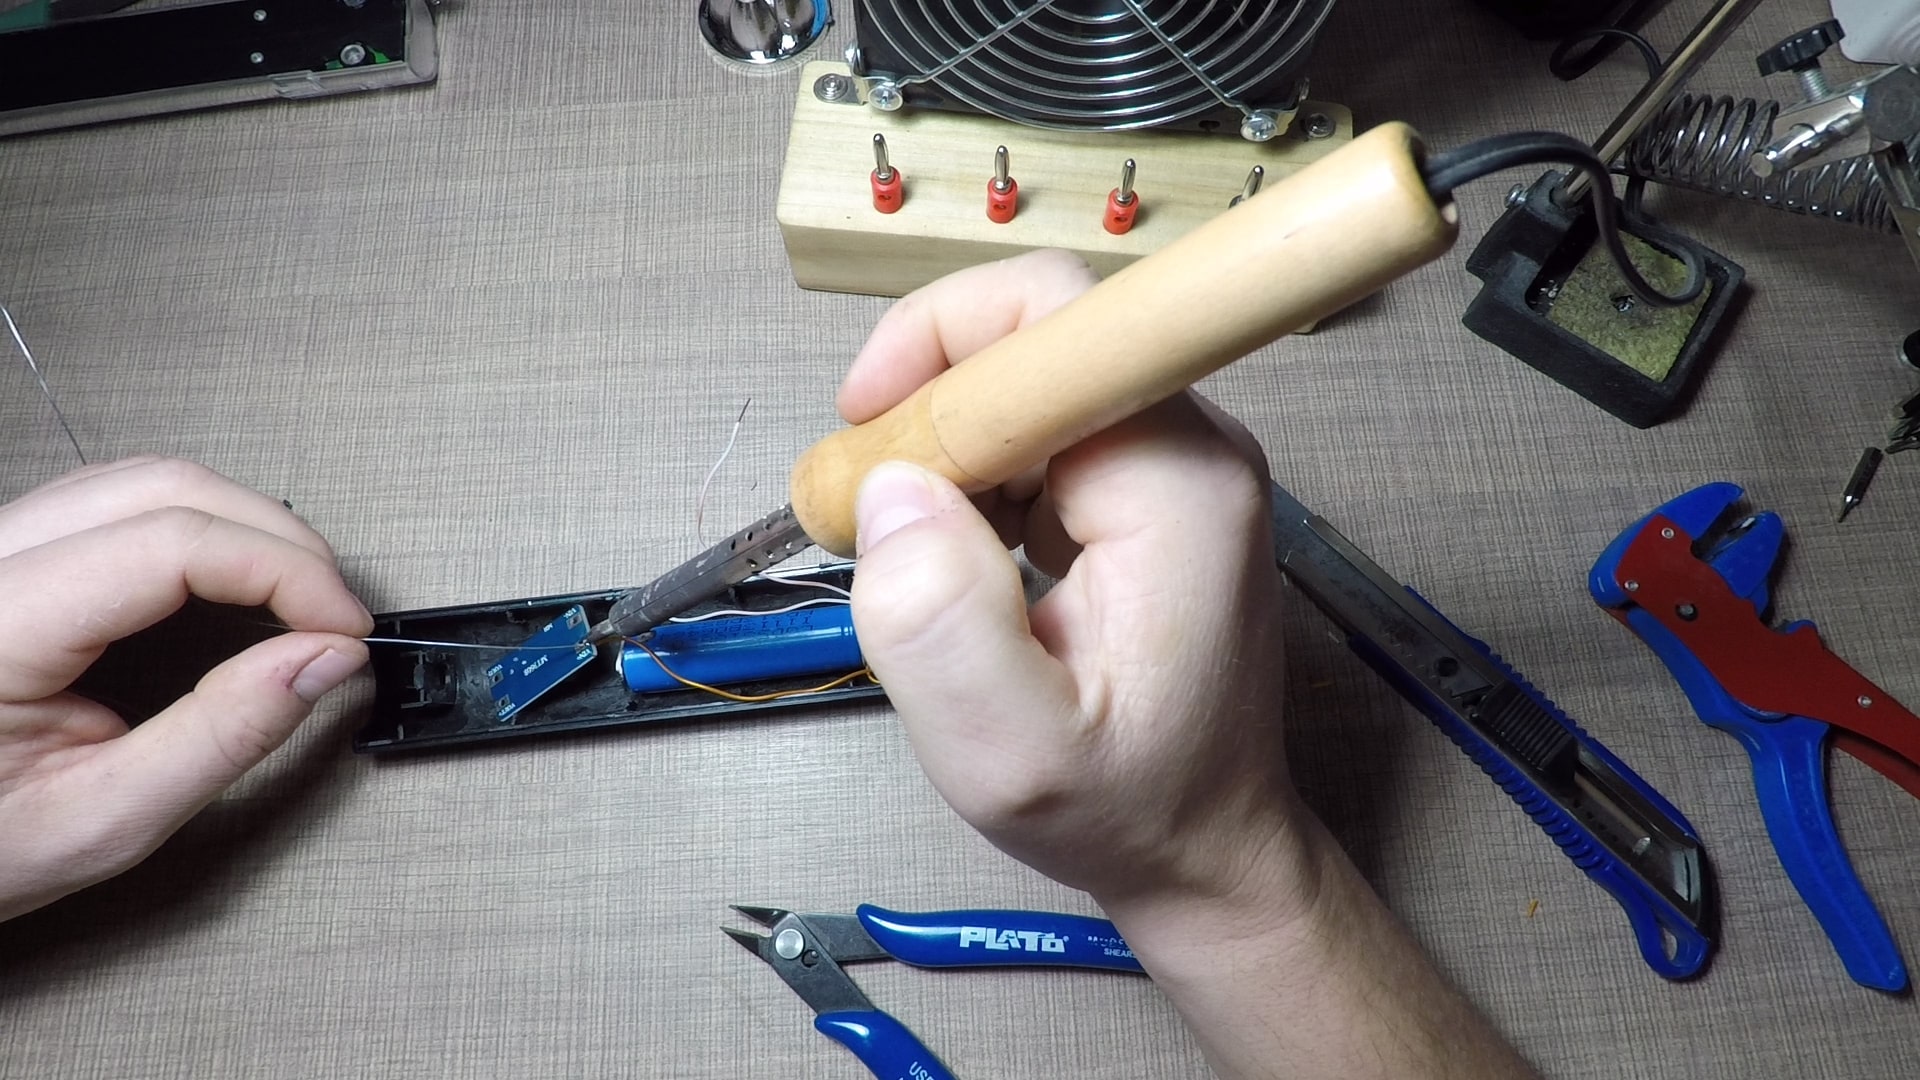
Soldering the electronics inside.
These wires will be connected to an extra switch that I'm adding to the top of the torch so that through it I can cut the voltage coming to the step-up board.
The first reason why I'm doing this is to prevent any electricity to be wasted inside the step-up board while the torch is off as its switch is only wired afterward and it switches between the front LEDs and the side work light.
This is really a very small current that would have been wasted but still, I don't want to find myself with an empty battery once I need the light.
Additionally, the original switch is a bit annoying since you need to press several times on every use to get to the light that you want and by adding the extra switch I can select the light that I want and use the other switch to turn it on or off directly.
Before you connect the MT3608 board to the input wires on the flashlight, it is extremely important to first connect your board to a multimeter so you can adjust the output voltage. In my case, the output voltage was set to 19V on the step-up board and that will definitely kill any electronics that you attach to it.
So I first reduced the voltage down to 4.5V by turning on the potentiometer that is on the boost board.
Check out the image below for the full schematic.
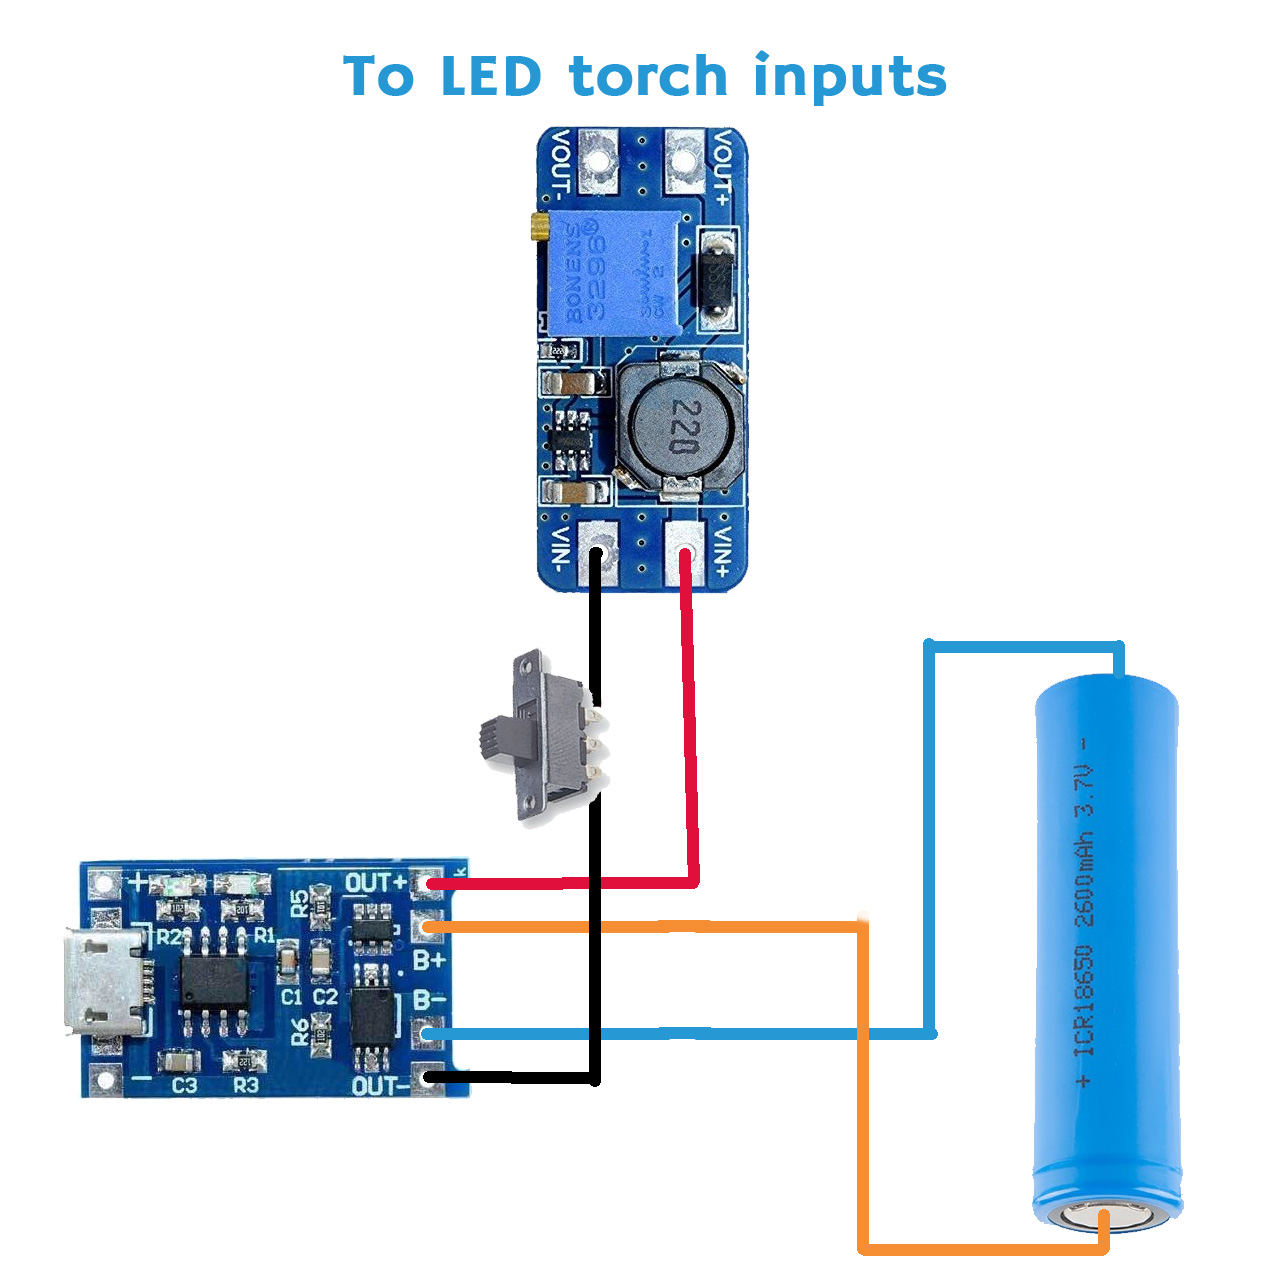
The final schematic with the TP4056 and MT3608 modules
Assemble the torch
Now with all of the electronics completed, I've added hot glue to all of the boards and the battery so everything is held nicely in place when it is closed up.
I first returned the work light half to the centerpiece, secured it with the screws, and slid it up through the outer handle from the back.
I've them pushed the switch wires and the front LEDs through the centerpiece and attached the LEDs to the reflector.
Assembly of the modified flashlight.
The centerpiece could then be screwed together to the work light, and I've passed the switch wires through the hole I made earlier and the entire front cover got snapped back in place as it was originally mounted.
I've left a bit of extra wires sticking from the hole and I've soldered the switch to them.
To mount the switch, I've used a small amount of hot glue just to secure it as it doesn't need much since it is mounted from the outside.
As a final step, I've added the back cover with the magnet and I can call this project completed.
This modification took only a few hours to make but I'm sure that with that I now have much nicer light to work with. Technically it is still the same light with the same output as before, but now I can quickly connect it to charge once it is empty without looking for new batteries and the light output is always the same till the very last second that it turns off.
I haven't tested it to see how long it will last with just the single 18650 cells but I'll make sure to update you on that over at Twitter once I know. So go follow me there to find out how long it will last and if you want to see more projects like this, then be sure to subscribe and ring the bell.
If you want to support the channel then head out to Patreon where you can choose one of the perks that I offer and help me to continue making these videos.
Cheers and thanks for reading.
Tools and materials used in the project:
- Rotary tool - https://s.click.aliexpress.com/e/_AEs1dR
- Soldering Iron - https://s.click.aliexpress.com/e/_9vgVaZ
- Wire snips - https://s.click.aliexpress.com/e/_AU6l6D
- 18650 batteries - https://s.click.aliexpress.com/e/_9fRQYt
- TP4056 charger module - https://s.click.aliexpress.com/e/_AWKGGh
- MT3608 step-up converter - https://s.click.aliexpress.com/e/_Afsb45
- Hot Glue gun - https://s.click.aliexpress.com/e/_ASKImz
- Precision Screwdriver - https://s.click.aliexpress.com/e/_AdPlEp
- Utility knife - https://s.click.aliexpress.com/e/_9hXMeN


